Many of you already probably have keg setups, so won't be so much interested in this, however I've got a slight issue here. See, SWMBO is concerned about energy consumption, and it has become apparent that it's not within our budget with regards to energy consumption to have another fridge dedicated to kegging, and the beer fridge I already have I have to share with her.
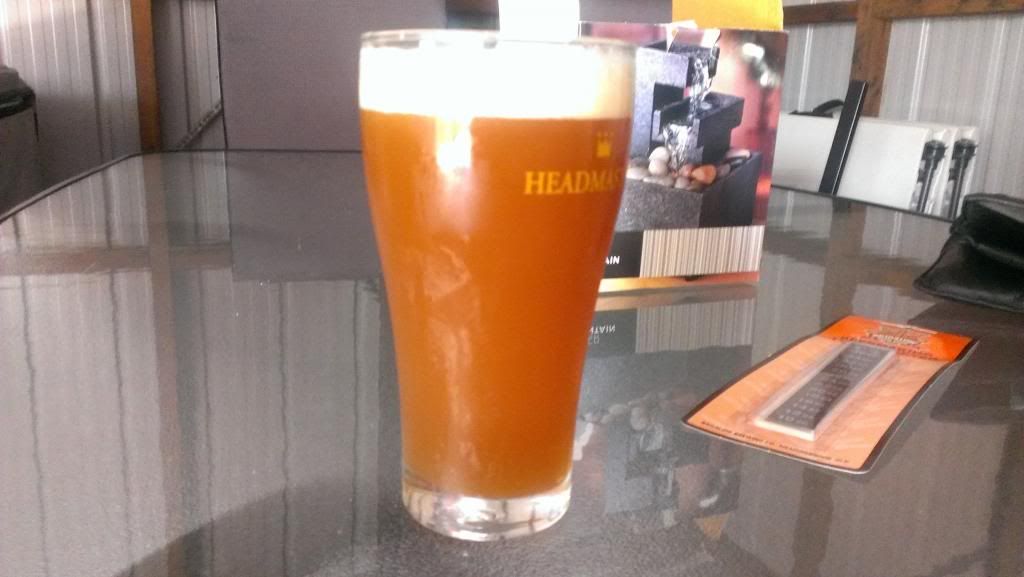
Dilemma here is i'm sick and tired of bottling, and I quite like the idea of being able to pour myself a schooner from the fridge. So then I stumbled across a potential solution to this problem (all credit for this goes to driftdaddy over at AHB, he pioneered this one). This is a way of more than halving my bottling, and giving me some of the benefits of kegging/draught beer.
So, what is a TapKing you may ask?
The Tap King is an ingenius little device developed by Lion Nathan, which allows you to drink draught beer at home straight from the fridge. It is aimed at the average aussie megaswill drinker, wanting to have their favorite beer on tap in their fridge at home. The unit can however, be easily adapted for refilling with home brew. Official website can be found here: http://www.tapking.com
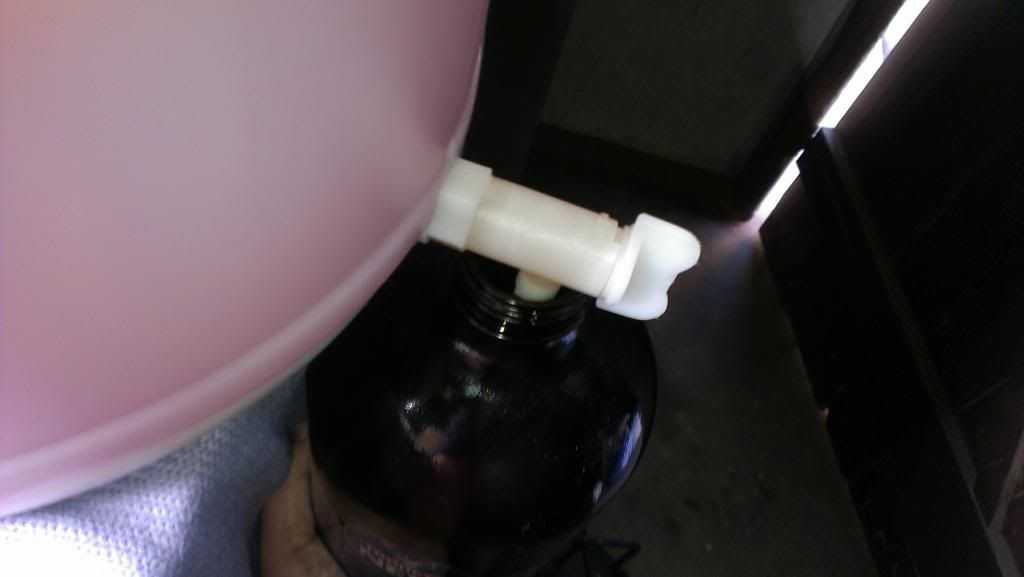
Here is the TapKing unit:
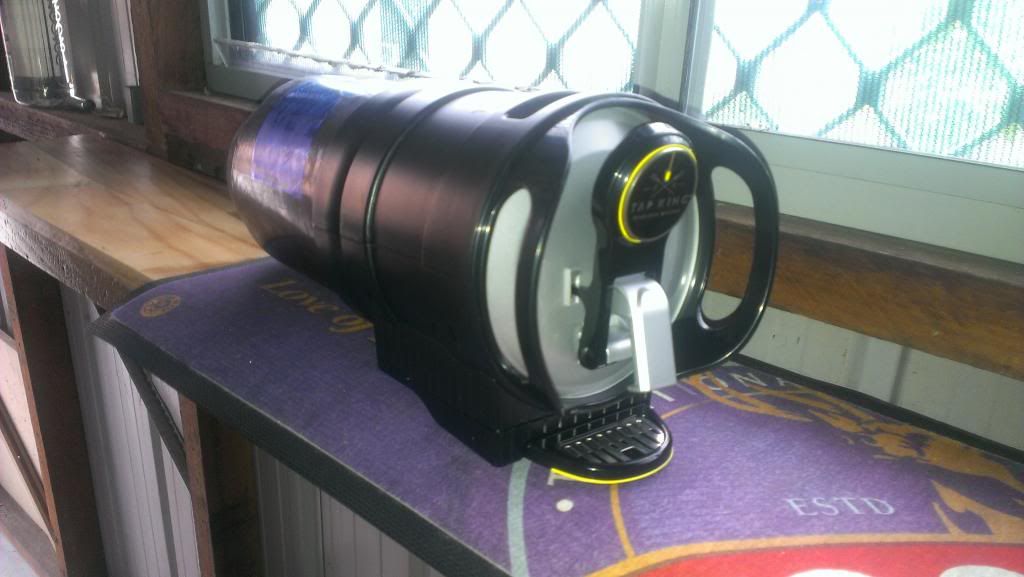
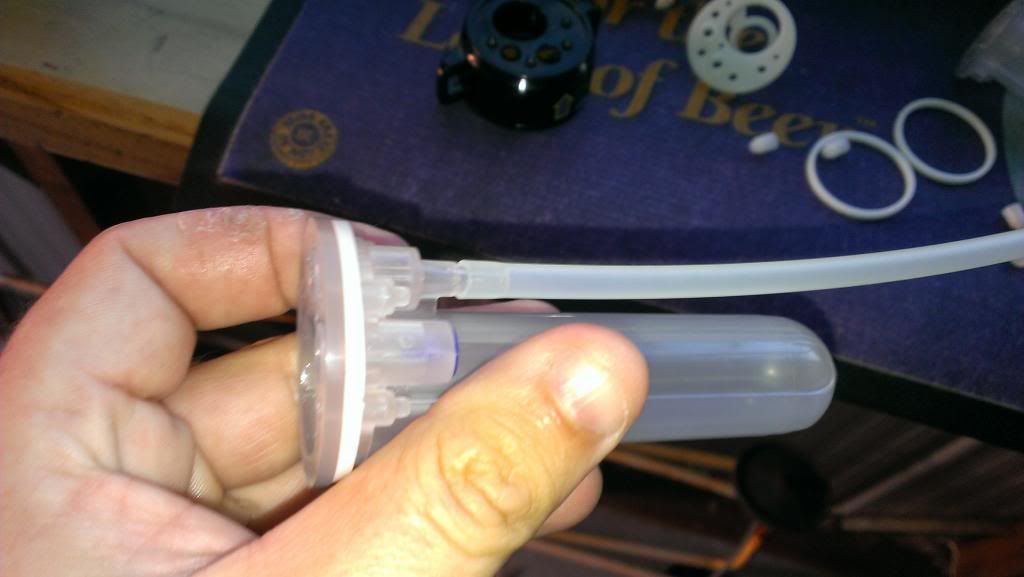
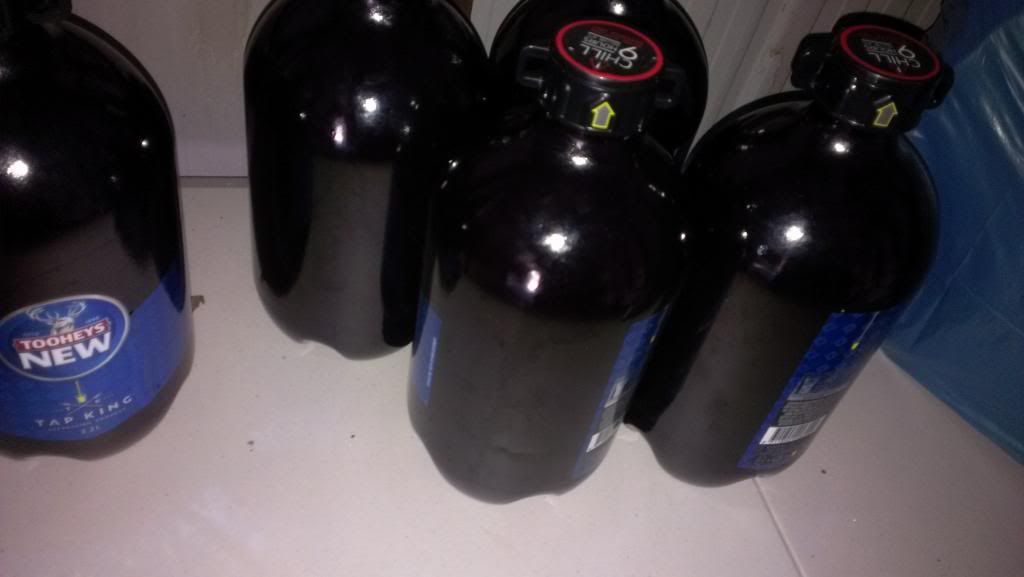
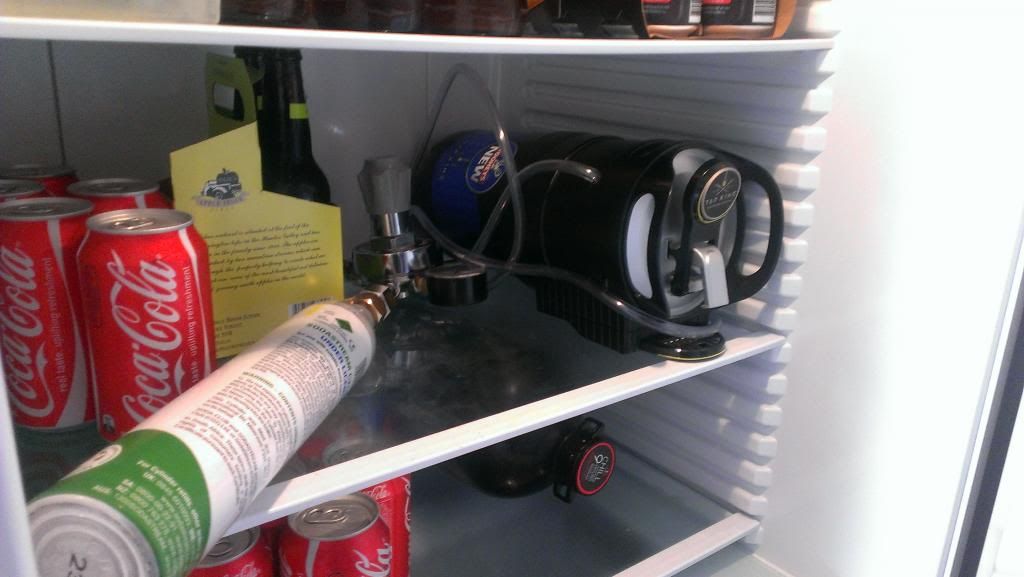
The TapKing unit is quite simple, and consists of 2 main parts, a 3.2L PET bottle filled with your choice of brew, and the unit itself, which some refer to as the head unit.
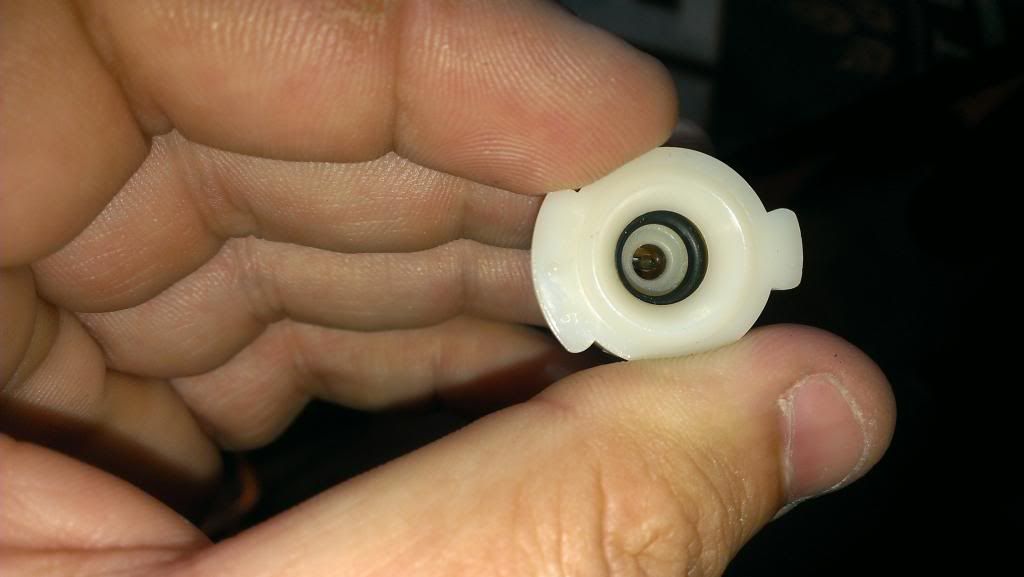
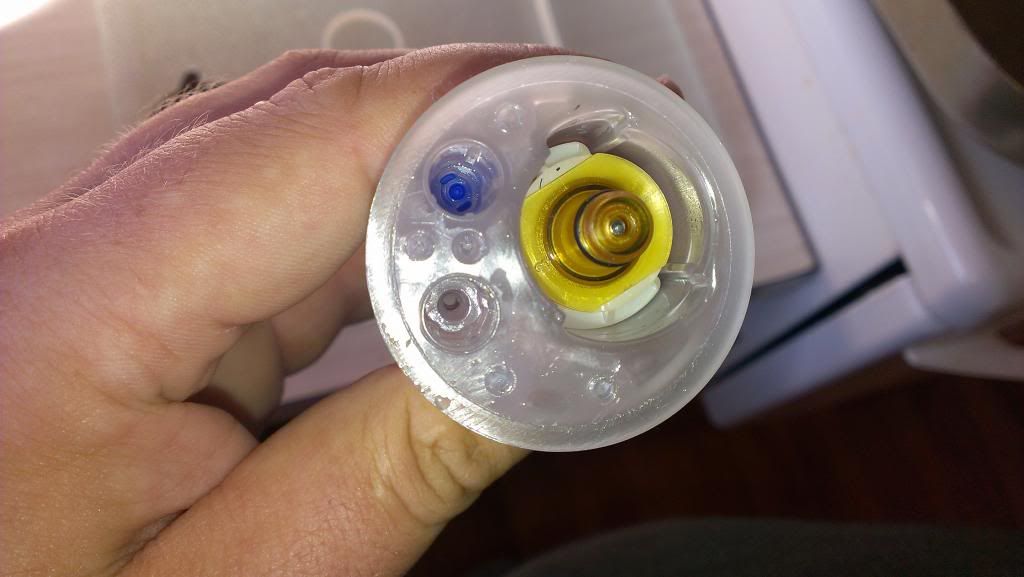
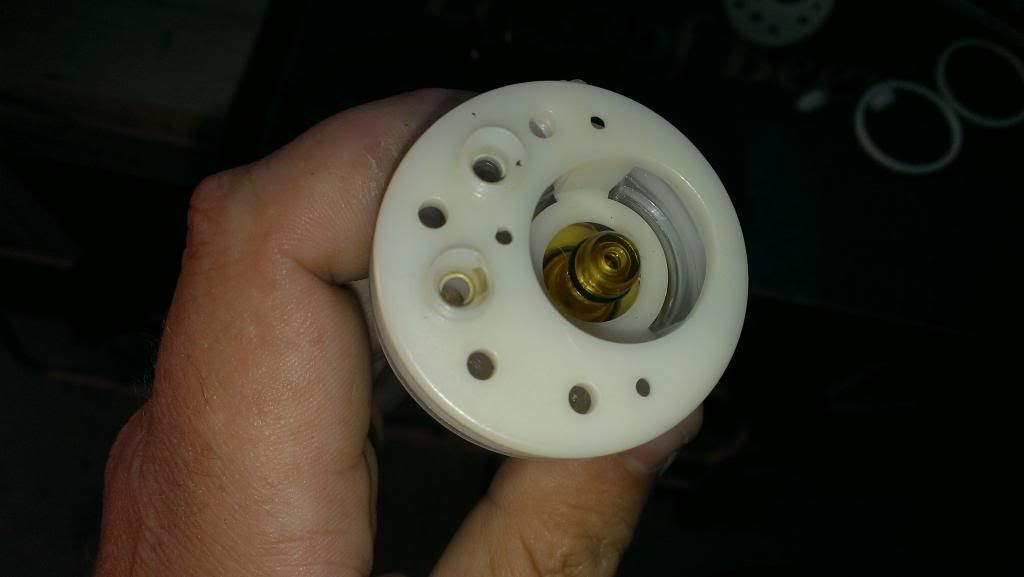
The bottle itself, is designed off a similar principle to a corny keg system. The cap on the bottle contains 3 valves, those being "gas out", "gas in", and "liquid out". These 3 things I will explain in more detail below:
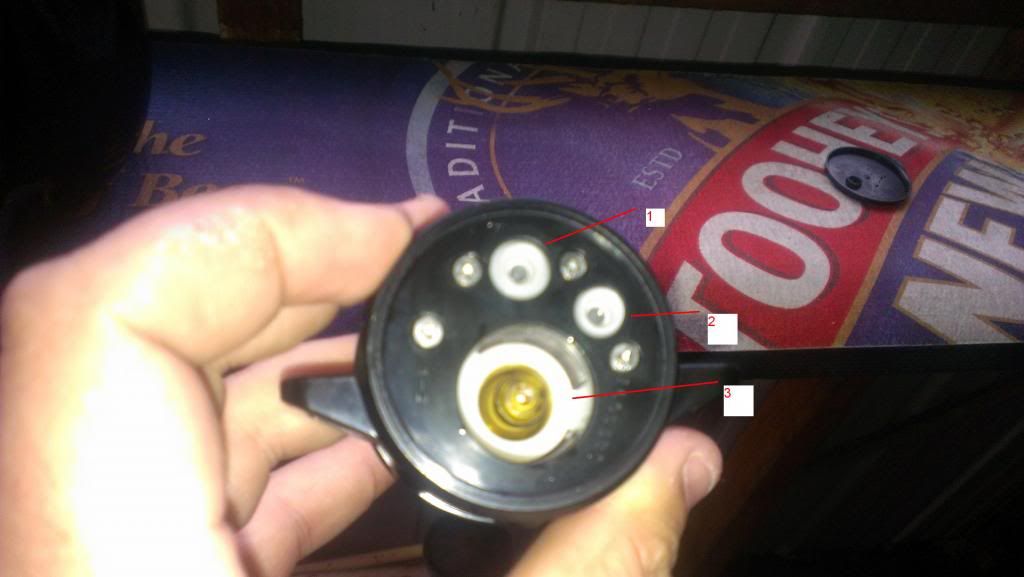
2. Gas In - This is a pressure sensitive one way valve, which lets CO2 into the bottle once it has gone through the regulator. I will explain the regulator further on.
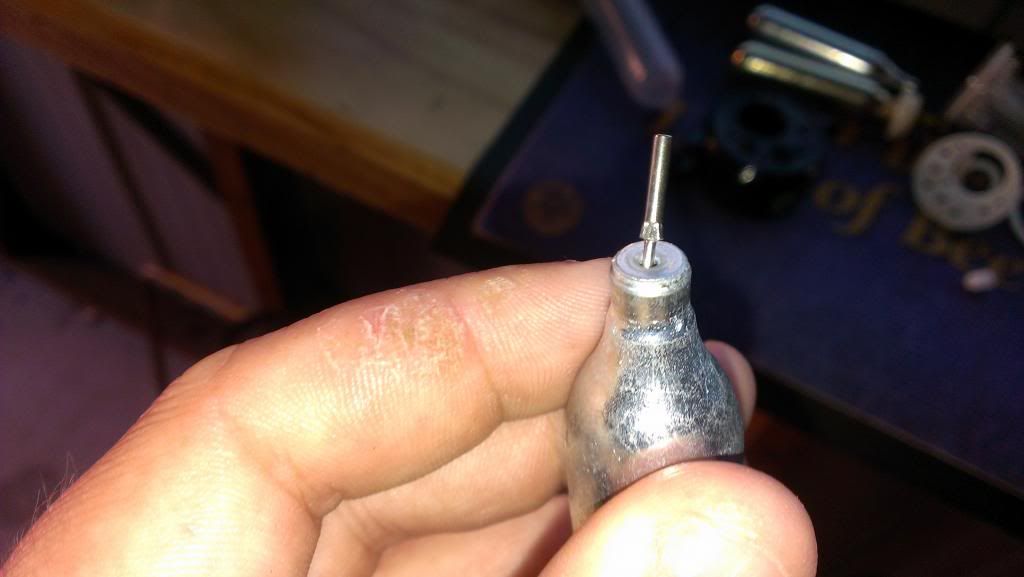
3. Gas Out - This large valve lets the puncturing needle on the back of the regulator pierce the C02 Bulb, and transfers the C02 from the bulb on to the regulator.
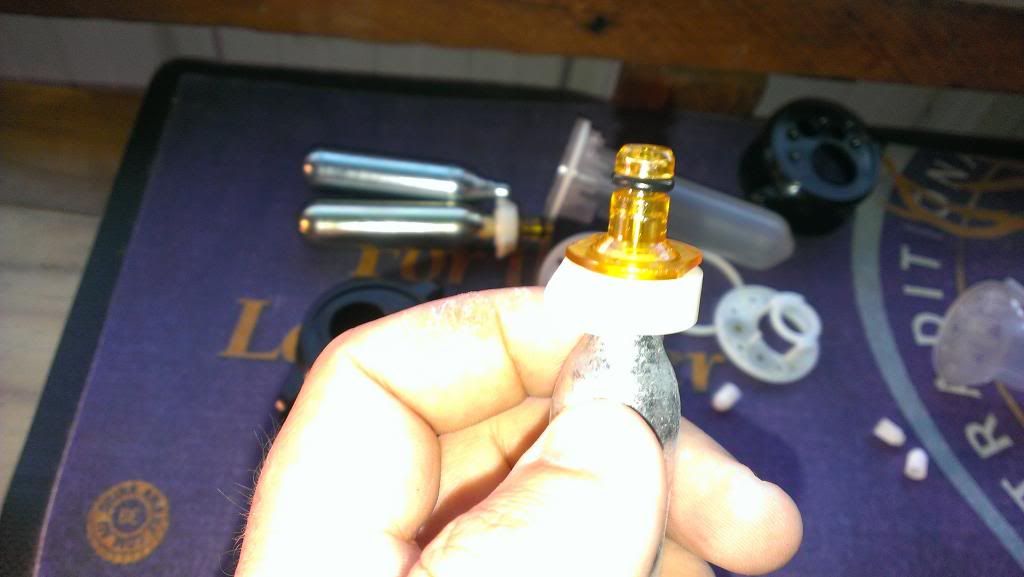
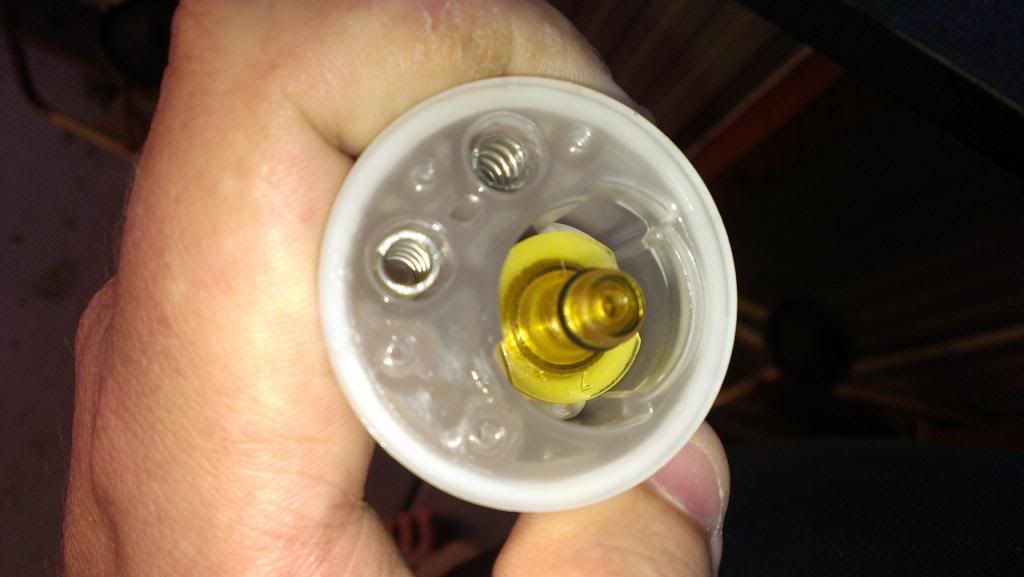
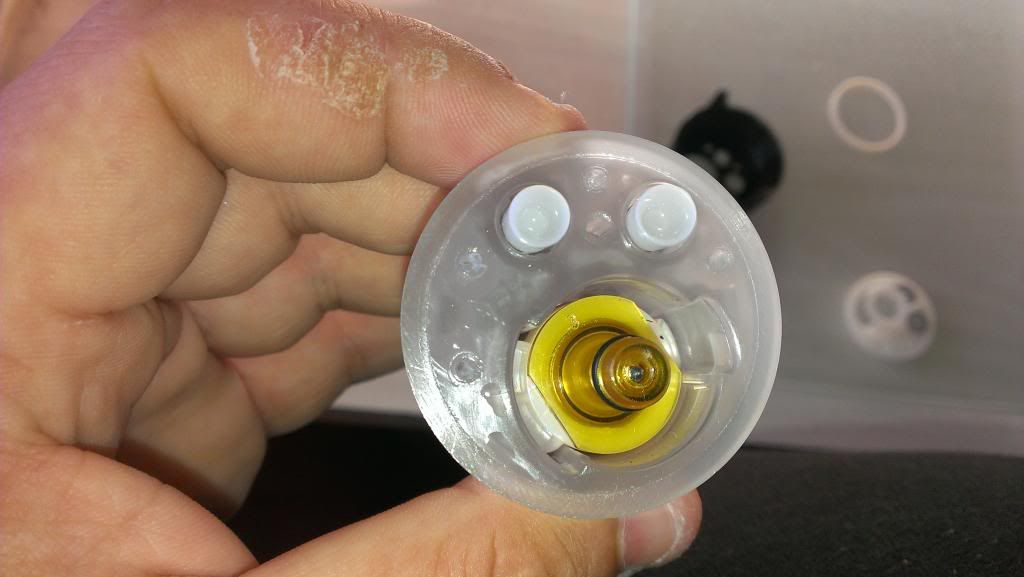
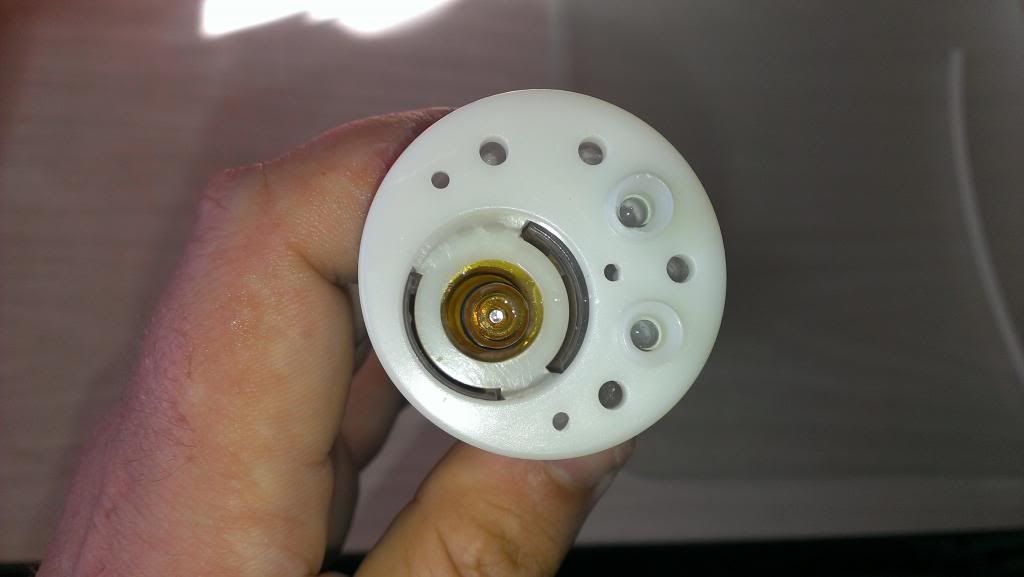
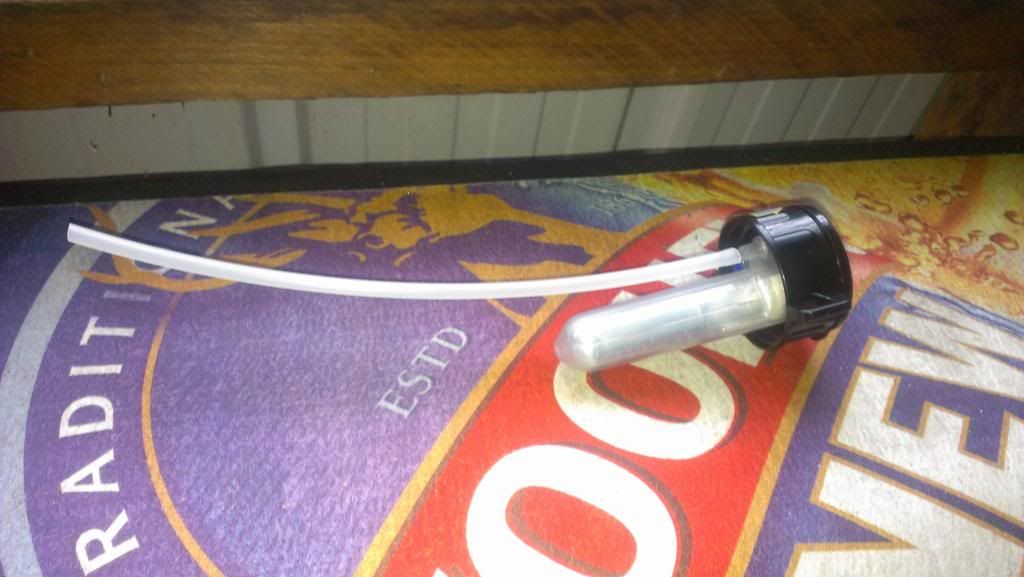
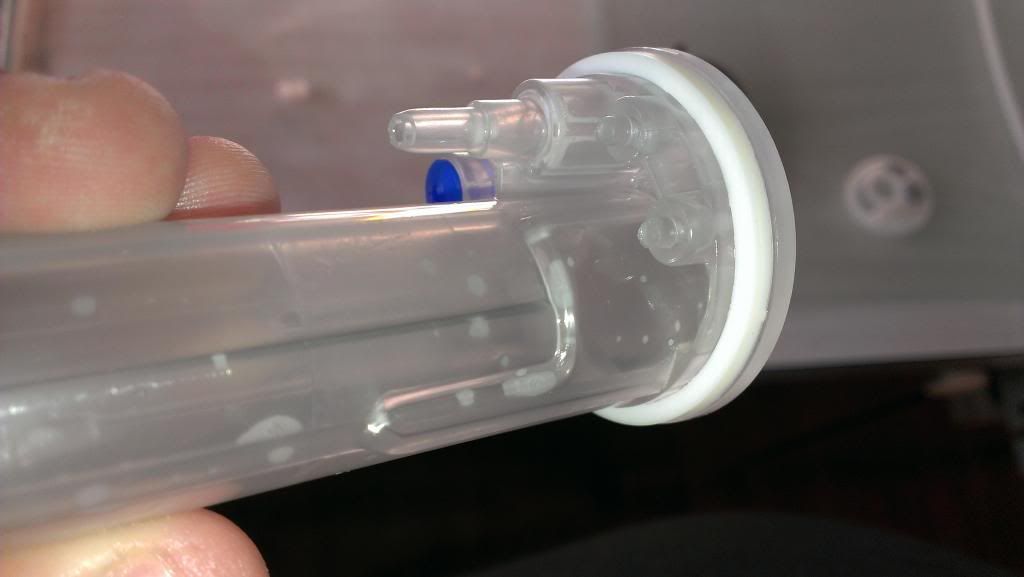
This is the underside of the lid, which houses the dip tube and CO2 Bulb. The chamber which the bulb is housed is completely sealed off from the inside of the bottle:
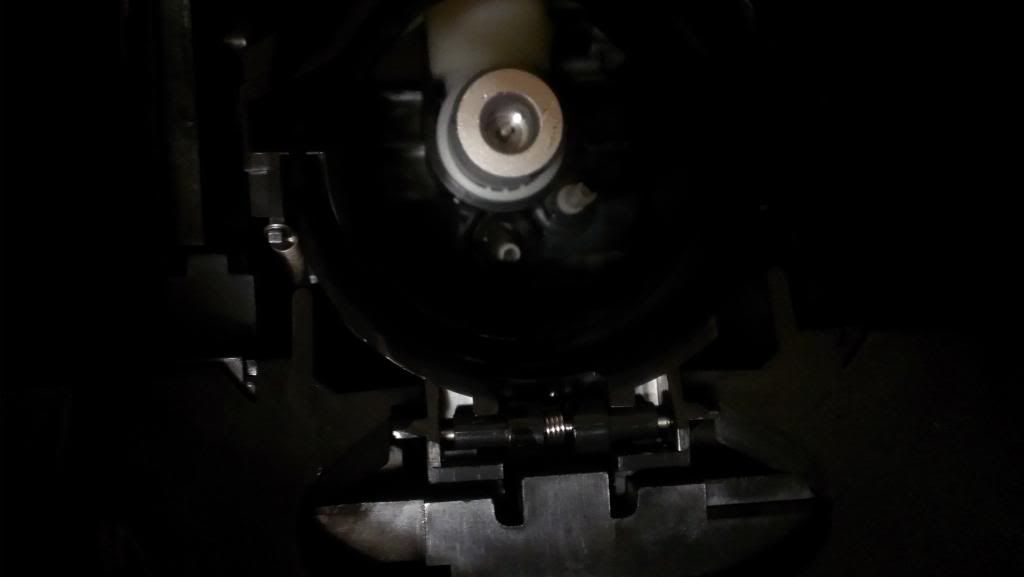
The larger silver bit is the gas in for the regulator and also the puncturing needle for the CO2 Bulb
The small white "pin" directly underneath the silver bit is the liquid out. This is actually the back of the tap, which pushes backwards into the lid and opens the valve when the handle on the front of the tap king unit is pushed inwards.
The small white "pin" which is offset to the right is your gas out from regulator, which connects to the gas in on the bottle and supplies pressure once the pressure inside the bottle drops and allows the one way valve to open. There is a small hose, which connects this pin to the regulator which you cant see in this picture. Some people have had great success using this hose to connect up a sodastream cylinder. For the purpose of this article, I will not go into this just yet as I have not done this modification myself and am yet to confirm it works.
How Can this device be of use to me, as a Home brewer?
The bottles can actually be very easily fully disassembled for cleaning, and to refill/ replace the CO2 Bulb. This is excellent news for us brewers, as it means we can either use this unit to get the benefit of far less bottling and having draught beer on tap in the fridge (particularly if SWMBO does not like the idea of a second fridge chewing power), and also for those who are looking for a much cheaper and simpler alternative to a 9.5 litre corny keg setup for your BBQ's/picnics/camping etc. This I believe would be particularly attractive to those living in an apartment where space for a keg fridge is non-existent. Reusing TapKing bottles will allow these people to get into kegging and be able to store it in the fridge in your kitchen. I've been using this setup for the last couple of months now, and after using it I really don't have a desire anymore to go to a full keg setup now. It cuts my bottling down from 30 long necks to 7 3.2 litre bottles for a standard 23 litre batch. This saves me ALOT of time cleaning and sanitizing that I can spend enjoying my latest brew whilst listening to some music or watching TV instead. Big win here.
So how do we keg our home brew?
Things you'll need:
2mm Triangular Screwdriver (this is required to undo the security bits in the bottle cap. These are readily available on Ebay, this is where I got mine from, I have not been able to find a store that sells them locally). Once the screws are removed you could replace them with ordinary Philips head screws if you wanted.
12g unthreaded C02 Bulbs - These must be the unthreaded type, I got mine (Mosa is the brand) from ezychargers - This site seems to be the cheapest I have found.
A spray bottle filled with a no-rinse sanitizer
Priming sugar or Carb drops
An assortment of O-Rings just in case you get one that looks dodgy (trust me if it looks dodgy fix it or you will end up with a leaking C02 bulb and no pouring pressure)
OK, first thing we need to do is make sure the cap on each of the bottles is spotlessly clean and sanitized.
The only way to do this, is to fully disassemble the cap and clean the internal parts. Here's how we do it:
1. Remove the 4 screws holding the lid assembly together

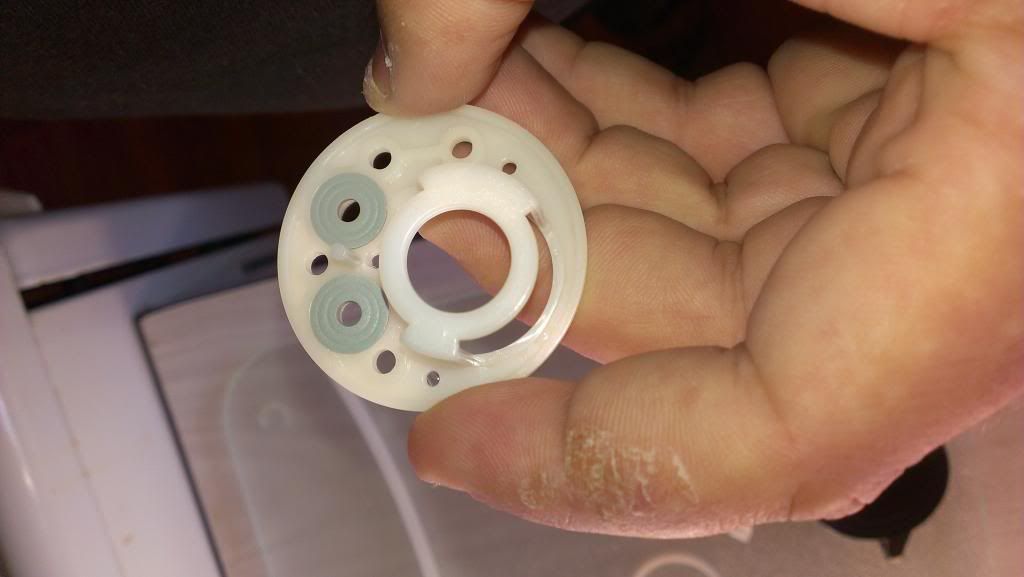
5. Remove the 2 grey rubbery seals from the white top plate. You can see them in this photo:
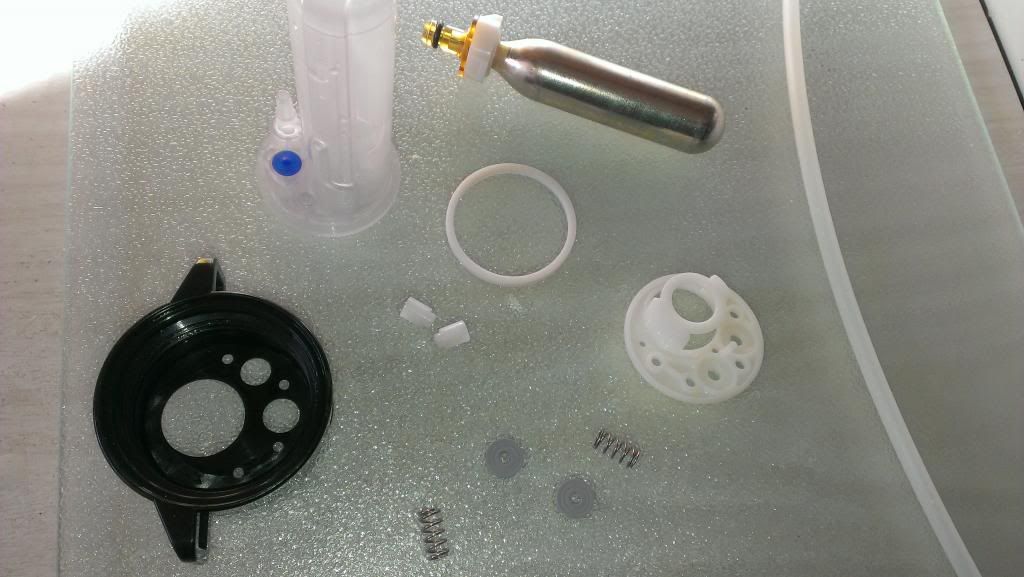
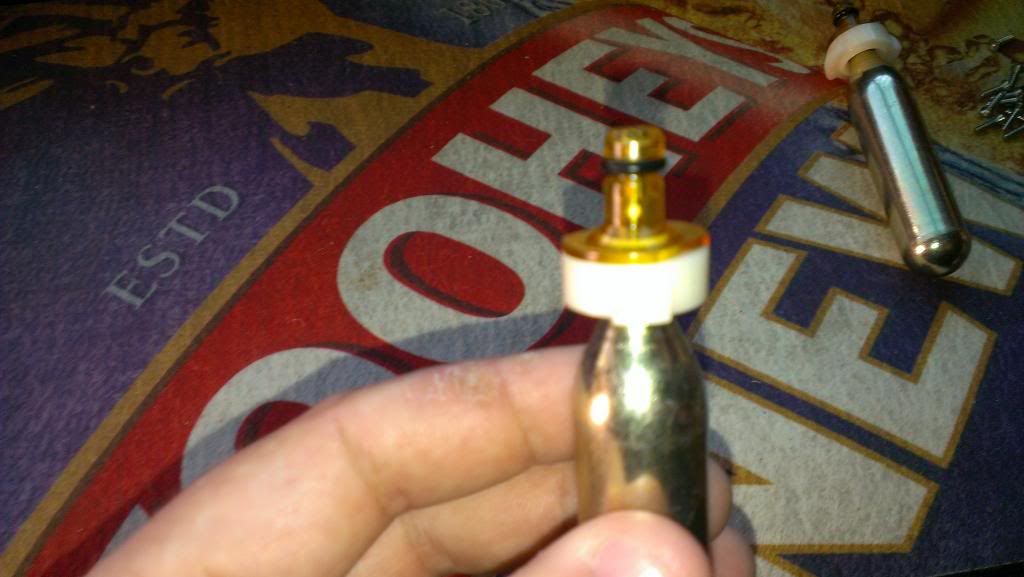
9. While you wait for the parts to dry, its a good opportunity to assemble a new C02 bulb to the TapKing bits. You need to retain the brown cap and striking pin from the spent C02 cartridge. Remove the brown plastic cap from the spent C02 bulb: