Thanks for the photos. It helps me figure out how this fits together.
thughes wrote:Observations/lessons learned:
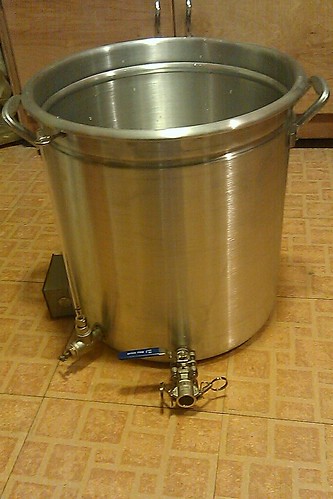
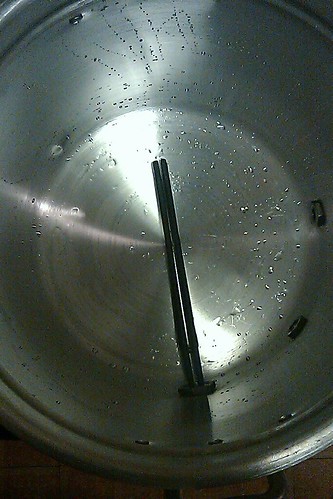
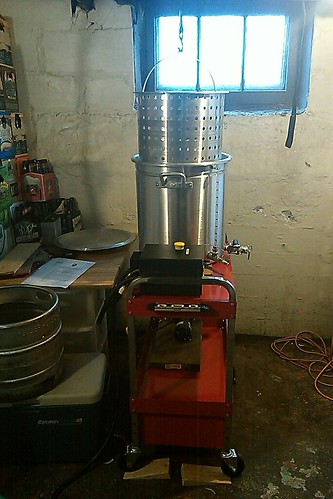
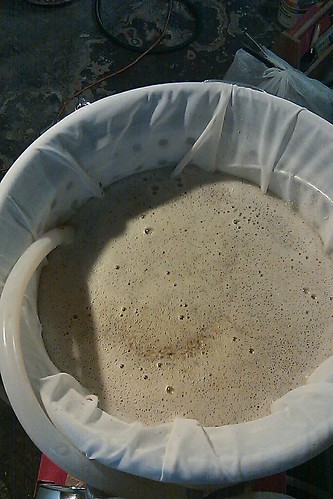
Although the basket looks like Swiss cheese, it does not drain well enough. If I recirculate too fast, the liquid can not drain through the holes in the basket fast enough and the level in the pot begins to rise. I compensated for this today by closing up the valve on the recirculation hose to a tiny trickle. I think I will take a saw to the basket and hack the hell out of it. (Stay tuned for pictures)
I'm speaking from no experience whatsoever, but before you hack up your basket: have you operated your kettle, including the recirculating pump, using the bag without the steamer basket? IOW, rig up some kind of false bottom (the broccoli steamer as I've seen before) in the bottom to make certain that it's the basket that's slowing down the flow and not simply the bag.
Also, how fast do you need the water flow to be in order to maintain your temps? I wouldn't think it would be much (again, just pondering it without having experienced it). In your photo, there are 2 rows of holes above the level of your grain, so I don't understand how that many unobstructed holes won't allow your flow to drain out and around the basket rapidly enough to keep the kettle from overfilling unless it's the bag that's causing the most resistance.
I've been "imagining" and "designing" my own build in my head even before seeing your great idea. I had wondered about trying to find a correctly sized wire basket (like those in used to make french fries in the deep fat fryers) what would be more "hole" and less "metal". Sort of like one of these if you could find one deeper.
http://www.bayouclassicfryers.com/index ... tail&p=237
http://www.webstaurantstore.com/11-1-2- ... 7FB11.html
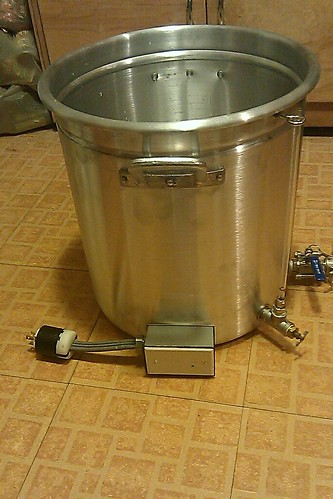
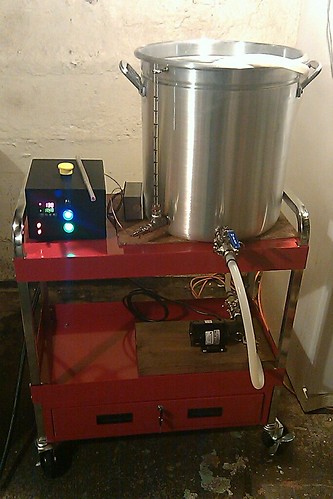
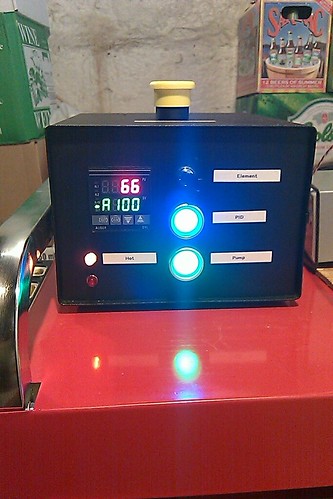
I also need to tweak the PID controller a bit more but despite my best efforts to the contrary, I was able to maintain a perfect 152 F for the duration of the mash. I did have some trouble getting the PID to raise the temp to mashout (I know that hurt my efficiency).
Is it possible that this might be due to the location of your temp probe - in the space underneath the basket and near the heating element? If the probe were stuck into your mash, might it work better? It's possible that I'm not fully understanding the process - not knowing if it's a problem with how the PID functions or a problem with sensing the temp.
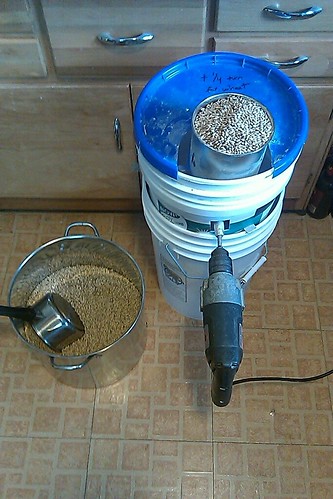
I think crushing a bit finer, opening up the holes in the basket, and stirring a bit more will get my numbers back up to where they were with my old system (82-84%).
How fast did the bag/basket combo drain when you raised it compared to when you did BIAB without the basket? I'm just trying to save you the trouble of hacking up your basket (which isn't a cheap piece of equipment when purchased separately).
It is likely that crushing your grain a little finer will further impede the flow of wort thru the bag itself as well as the basket. I still wonder if slowing the flow in your recirculator would solve the issue without having to cut up your basket.
Respectfully submitted,
Keith - who's trying to do some "dry runs" in his head before actually doing it.