A lot of brewers do yeast "slants" in test tubes of a medium like gelatine or agar agar where they culture up yeast and store the tubes in the fridge for future use. I was interested in slanting, to keep a constant supply of yeast and to keep examples of yeast that is often unavailable, for example Wyeast West Yorkshire 1469 that they only release every two years.
Whilst researching slanting, I was presented with the other popular method, actually freezing the yeast and keeping it in the freezer. The problem is that when freezing living matter, the cell walls can be ruptured and kill the cells. This can be avoided in the case of yeast by storing the yeast in a solution of glycerine (glycerol). I have also posted this on other forums as it's of general interest, not solely BIAB.
I have an old school freezer that needs de-icing every couple of months so the yeast tubes can be in deep freeze without the interruption that can happen with modern no frost cycling freezers. With modern freezers the yeast can be partly revived during the defrost cycle in the freezer and can have short life, but this can be avoided by storing the frozen yeast tubes in a styrofoam box with a freezer pack to even out the temperature fluctuations.
So I acquired some kit and a bottle of glycerine (to prevent cell walls bursting which is the major no no in yeast freezing). I'll certainly revisit slanting if I get bad results down the track. Also please note I don't have a pressure cooker yet: relying on steaming only.
So here goes: (all measurements in metric, 30ml = about one fluid ounce)
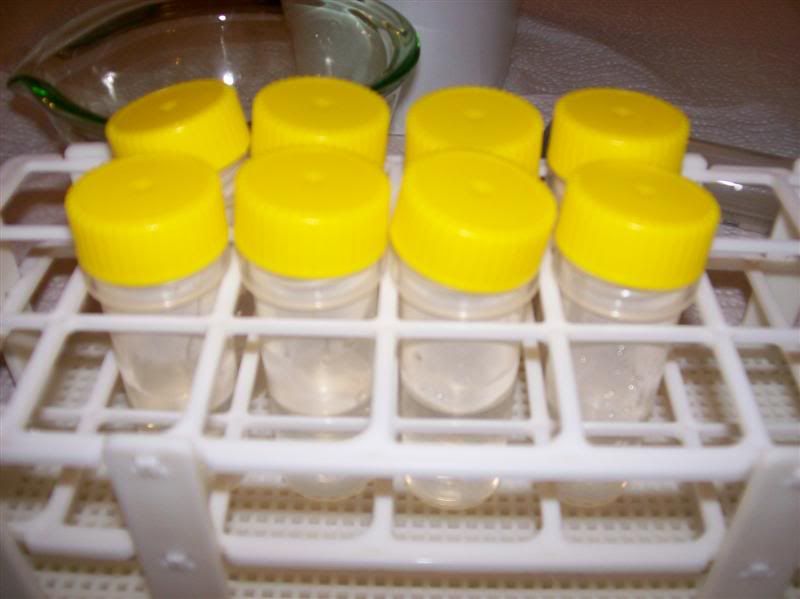
8 test tubes (30ml) to be prepared for freezing. I'm following the method provided by
this site:
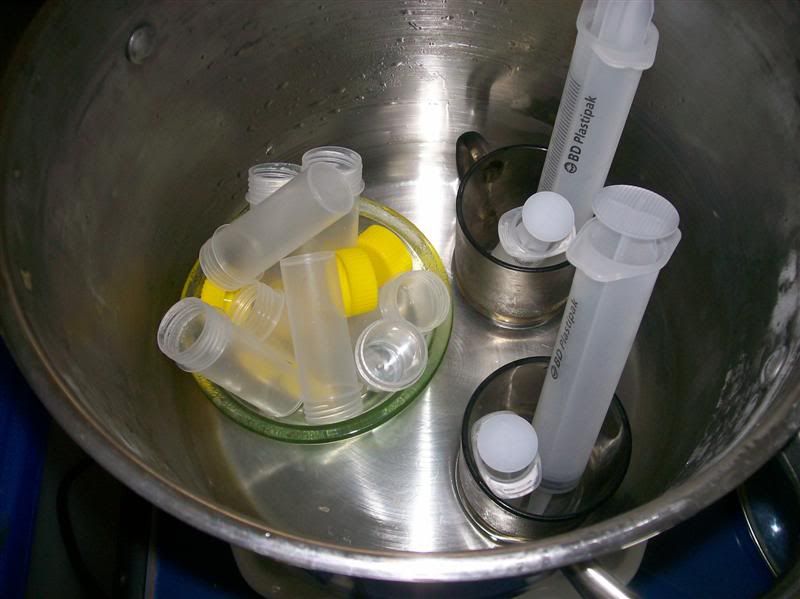
Into the stockpot:
8 test tubes and caps sitting in a Pyrex bowl,
a few assorted new syringes from the chemist sitting in a couple of Pyrex 250 ml teacups.
We are looking to get a cup containing 120ml of 70% water / 30% glycerine, and a cup of 120ml yeast slurry to fill 8 tubes.
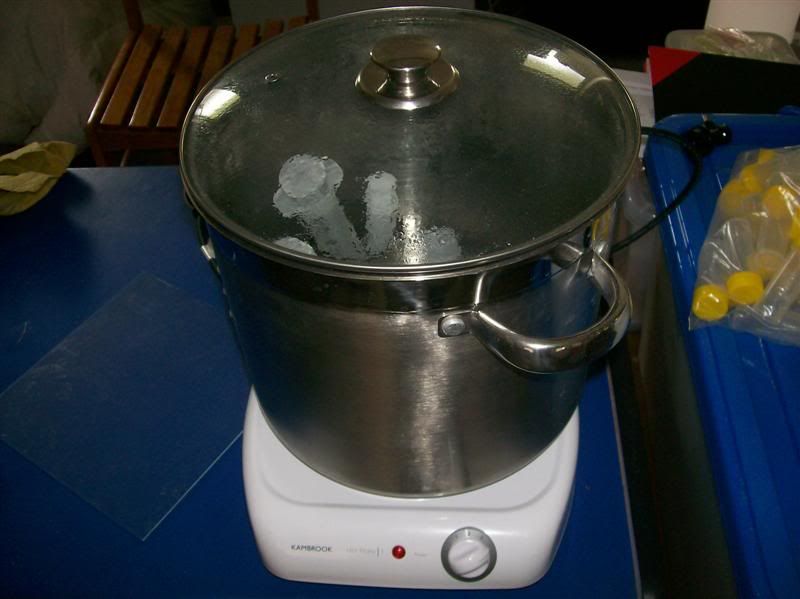
Steam for an hour.
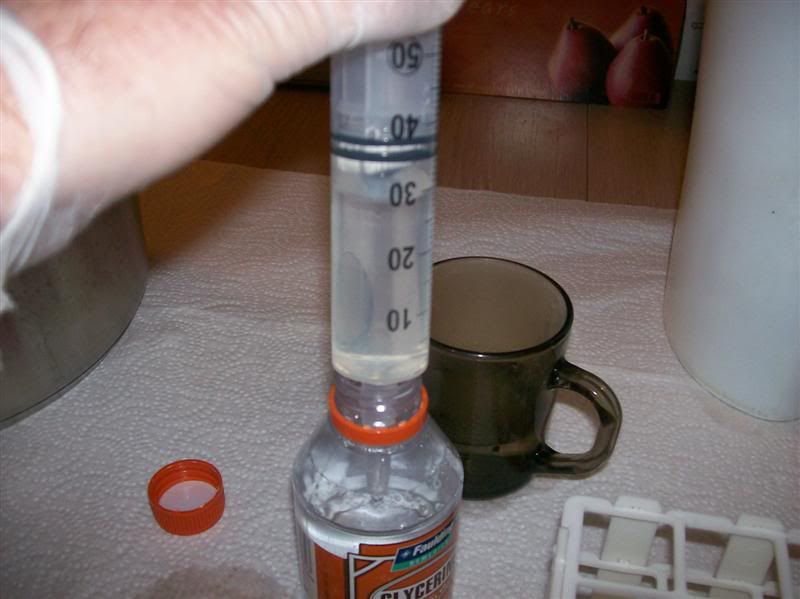
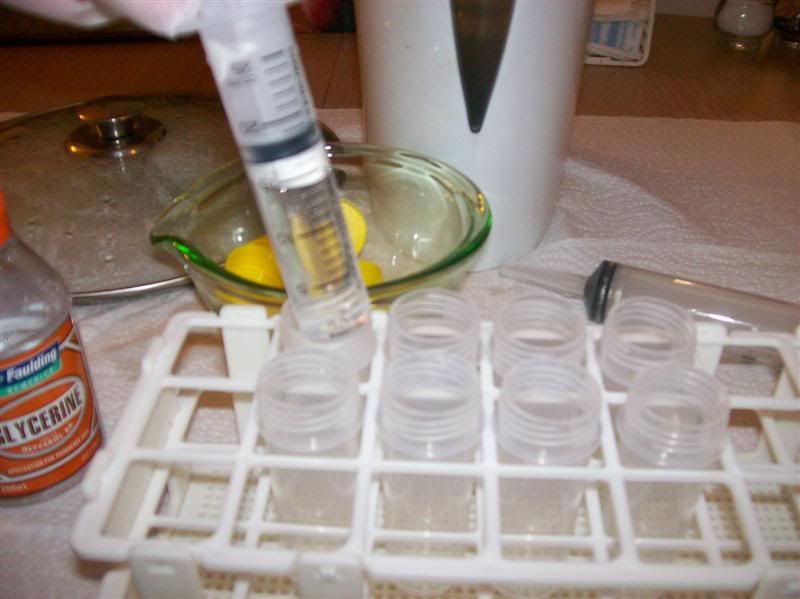
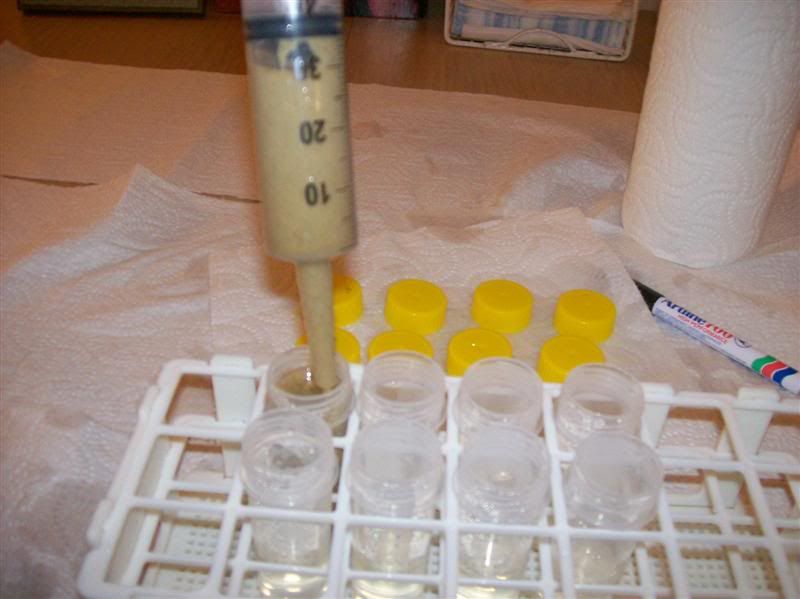
Arrange a work area away from any spores and yeast as might lurk in your brewery. Using a small graduated syringe, put 85 ml of boiled kettle water and 35 ml glycerine into one of the glass cups or your equivalent bit of kit, and microwave to a boil. The into each test tube, syringe 15 ml of solution, cap the tubes and cool rapidly.
Obtain a cup of slurry / yeast from a starter / topcrop from Yorkshire yeast etc etc.
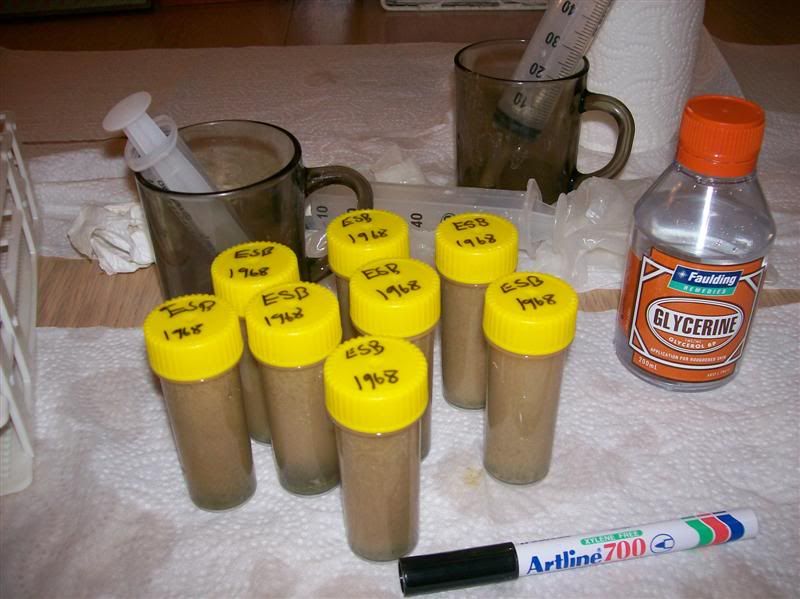
Into each test tube, syringe 15 ml of yeasty solution. Cap, label and freeze.
Apparently if you fridge them for 24 hours and then freeze them you get better viability.
I look forward to the results. BTW the yeast is Wyeast 1968 London ESB. B)