So I just bought this kettle

Post #1 made 10 years ago
After hours of contemplation I decided to upgrade from my 15L stove top setup and invested in an electric setup.

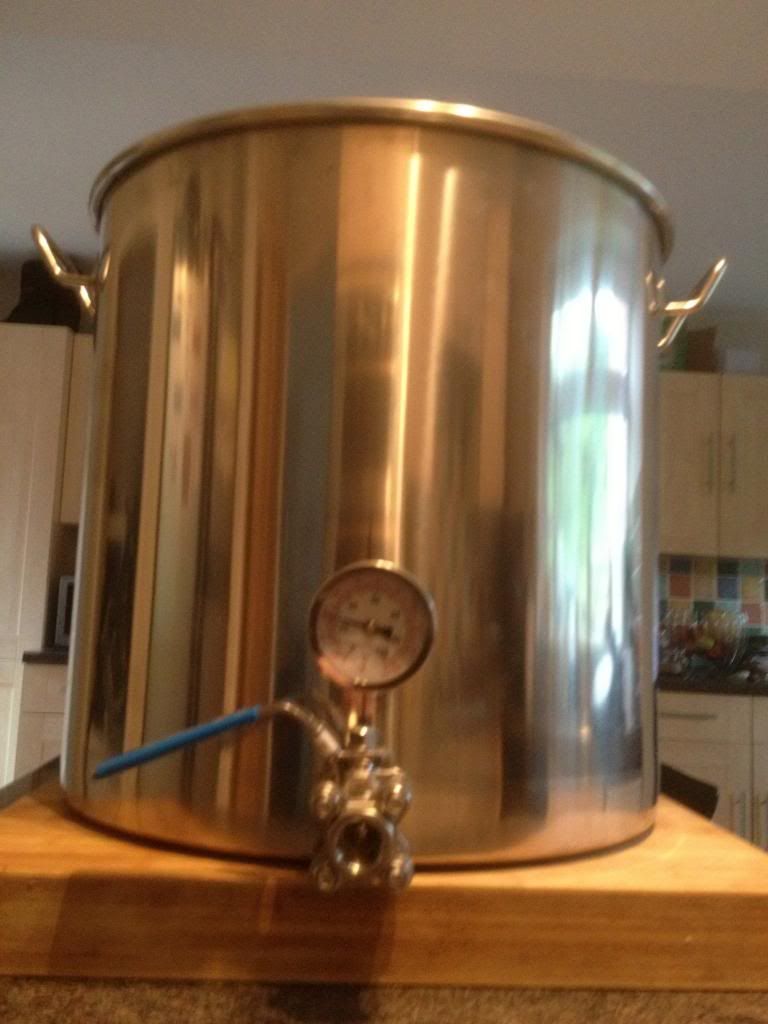
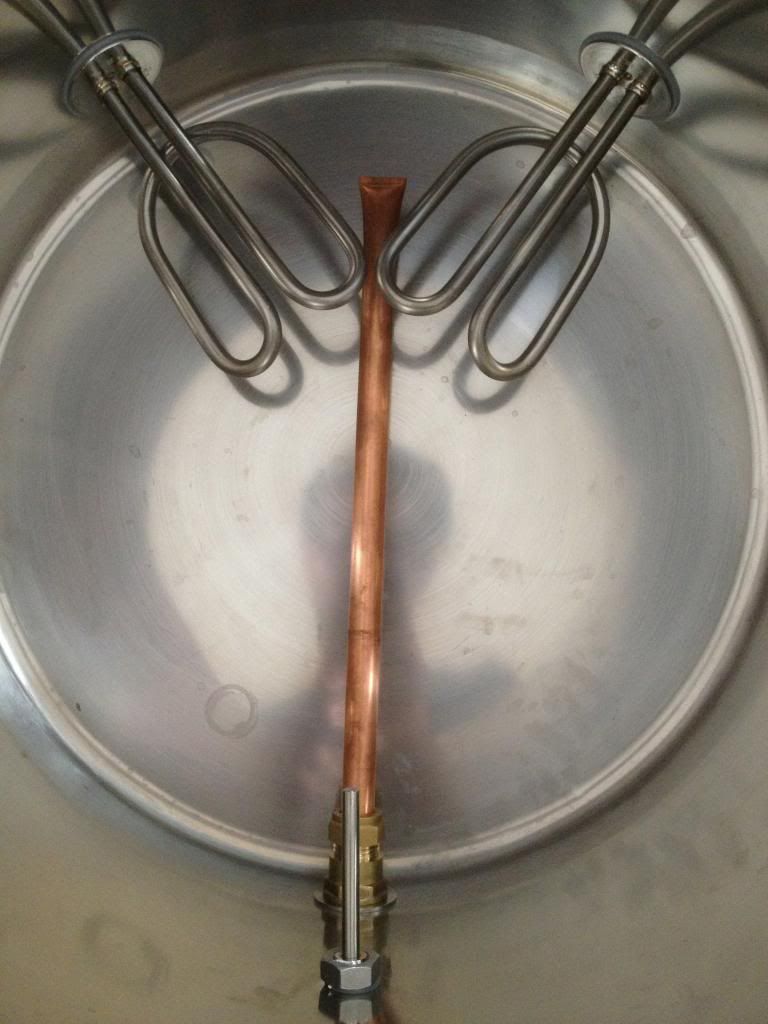
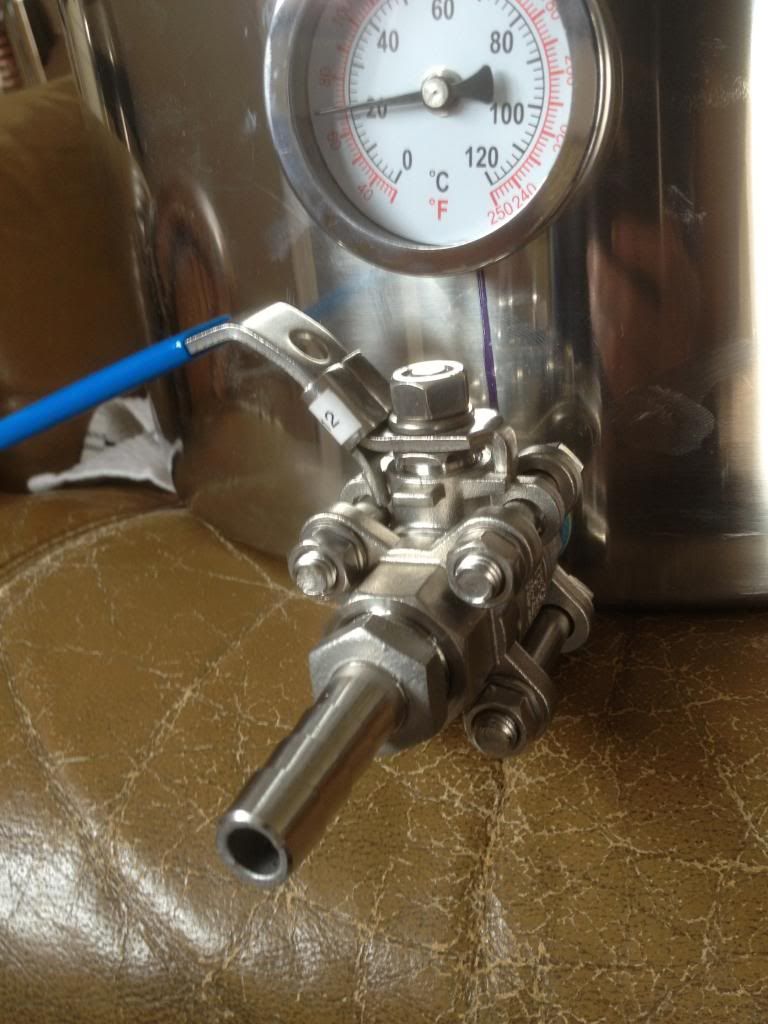
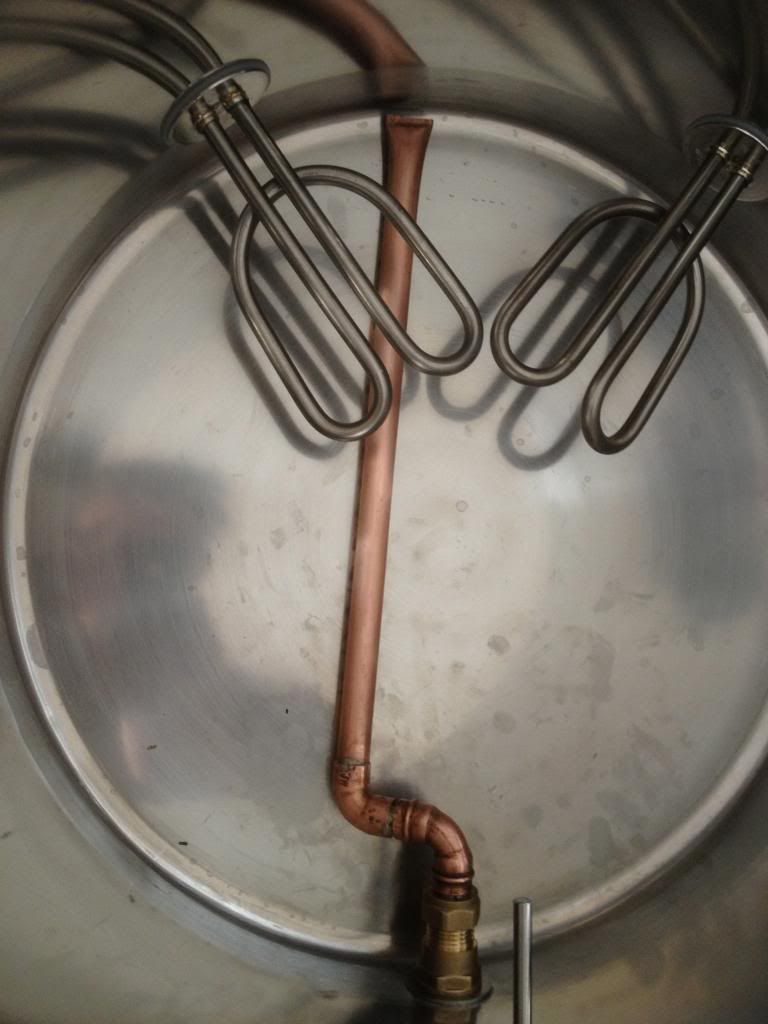
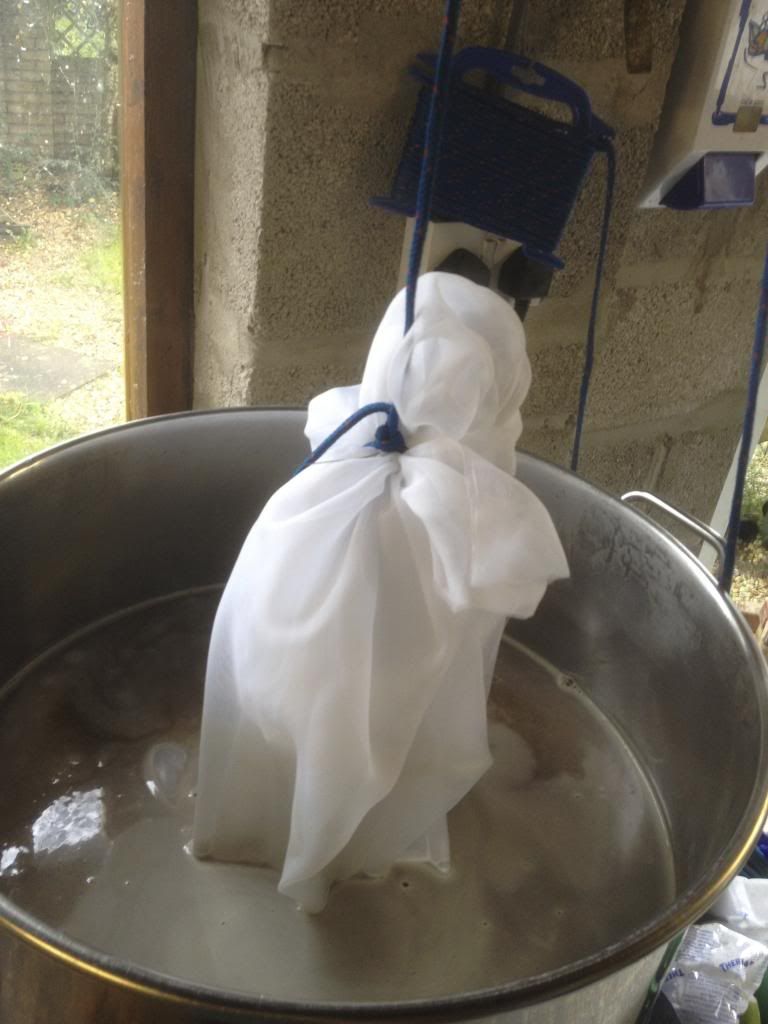
49L stock pot (40cm diameter - 39cm depth) with ball tap, thermometer and 2x 2.2kw elements.
[
url=http://s226.photobucket.com/user/balli_ ... 5.jpg.html]
Image
[/url]

Image


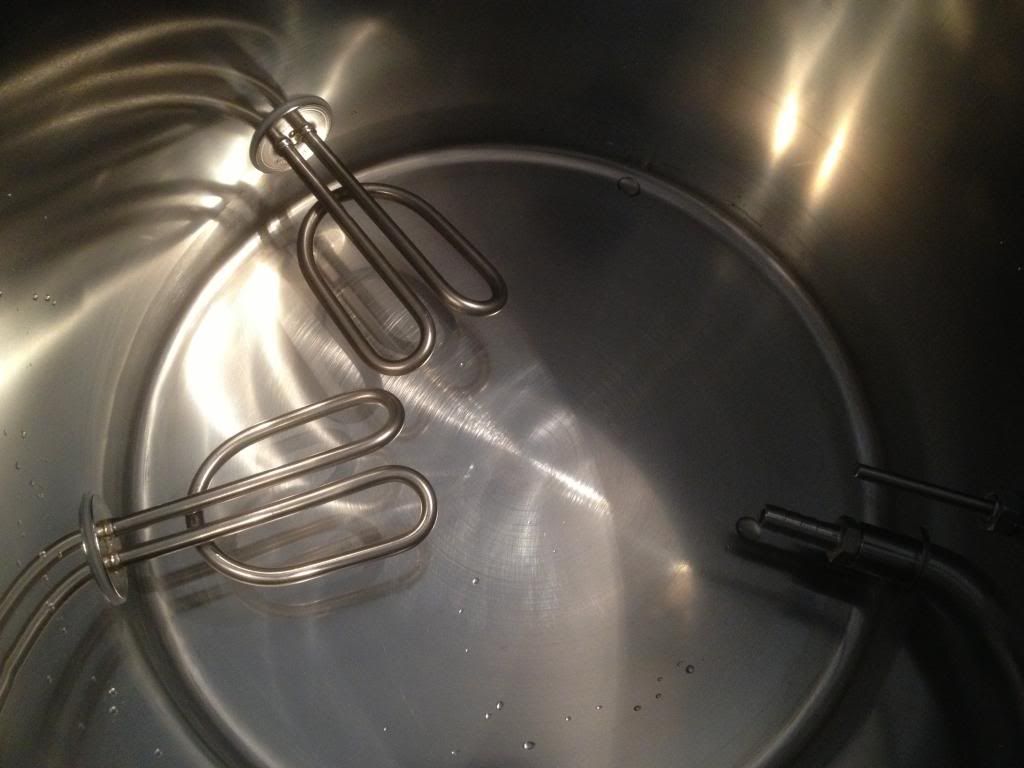
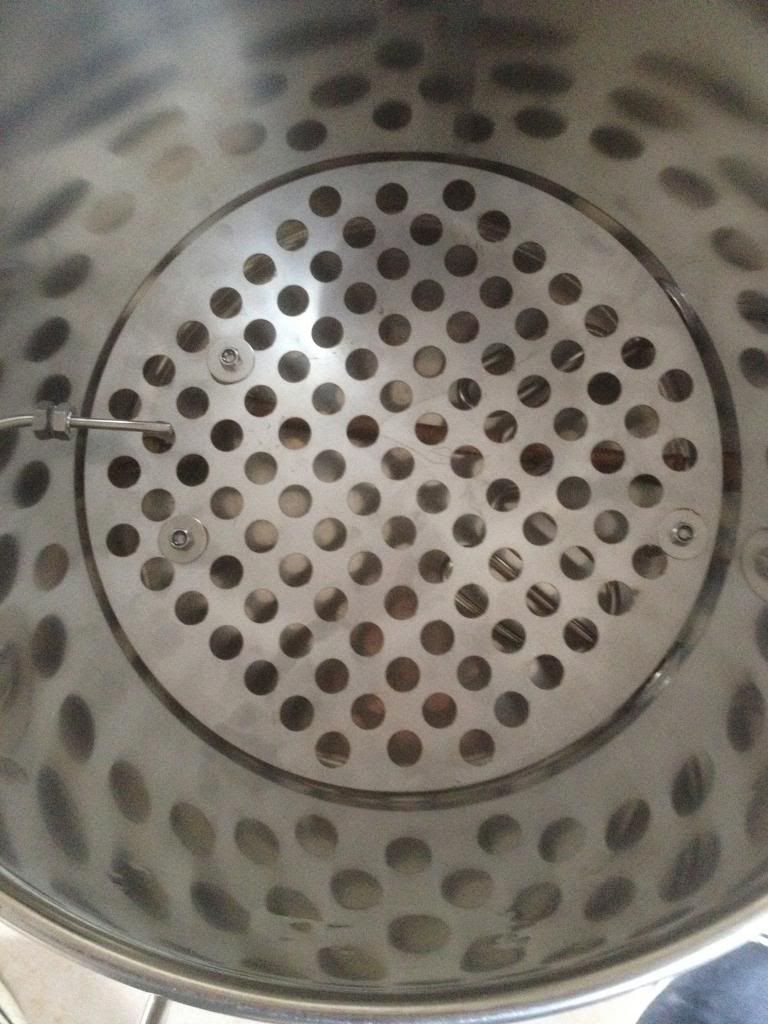
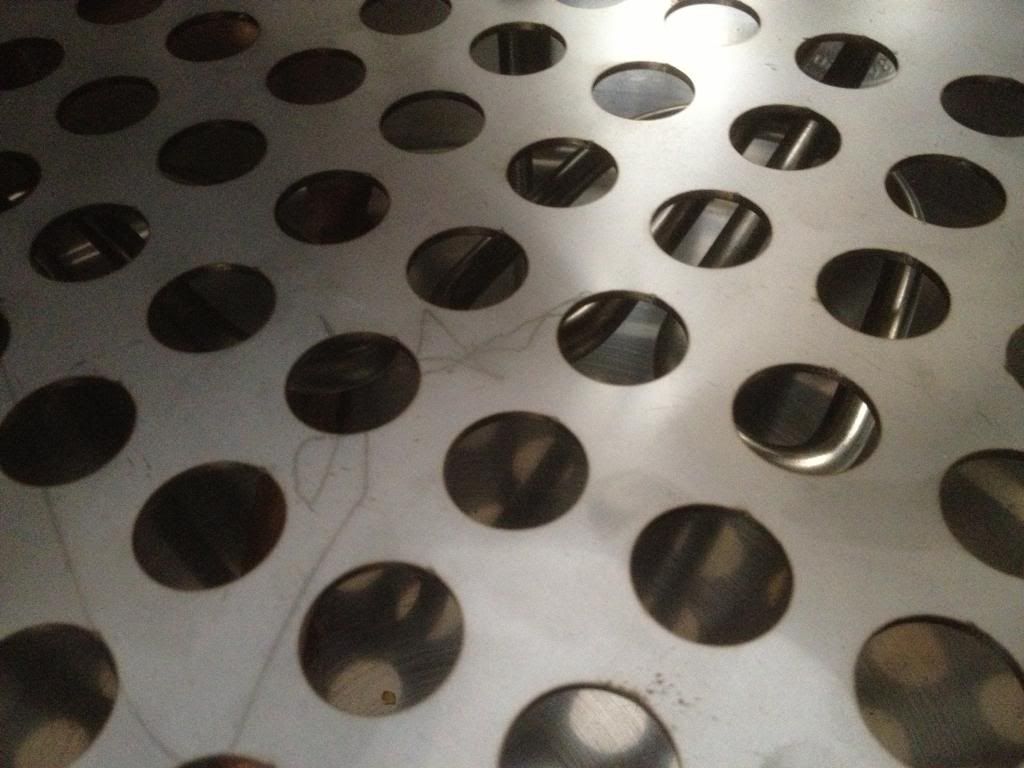
So I need all your opinions on false bottoms/lifting the bag off the elements during the mash. Im having trouble finding a suitable stainless cake cooling rack.
If i were to purchase a cake rack how can I make legs so it sits above the elements? the highest part of the element is roughly 7cm from the bottom of the kettle. Im just worried if i use the lifting the bag method even after iv turned off the elements will they cool down quick enough not to scorch my bag?

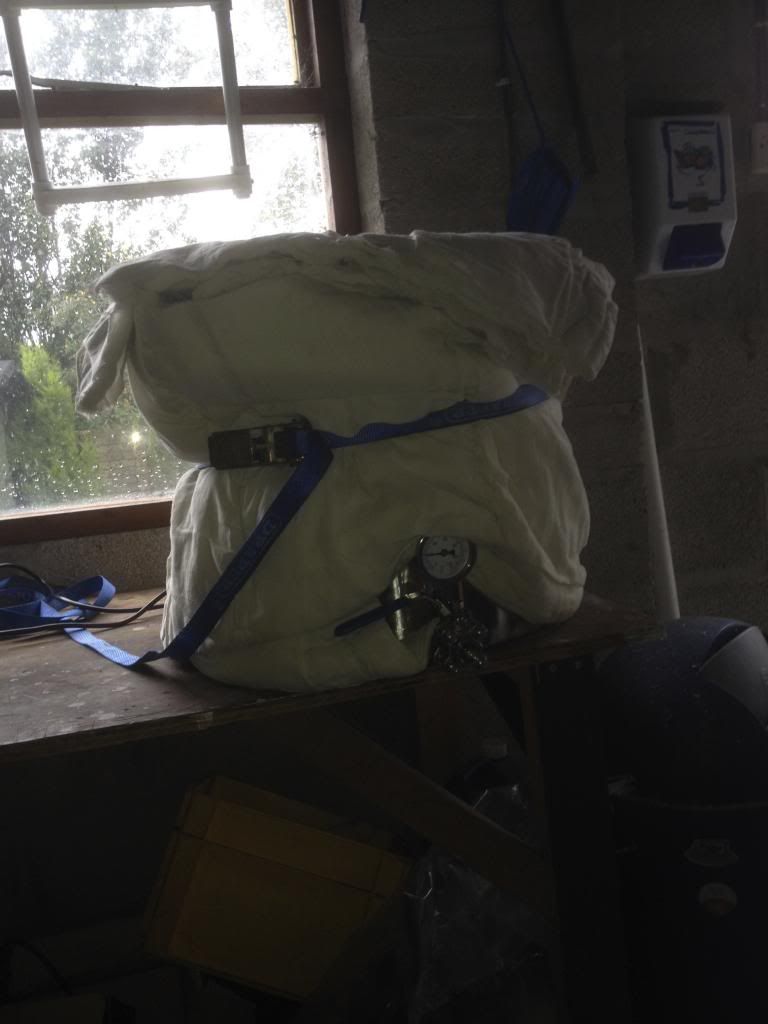
Iv not yet sewn up my new bag but has anyone got any tricks for ensuring the bag doesn't scag on the thermometer probe when pulling it out?

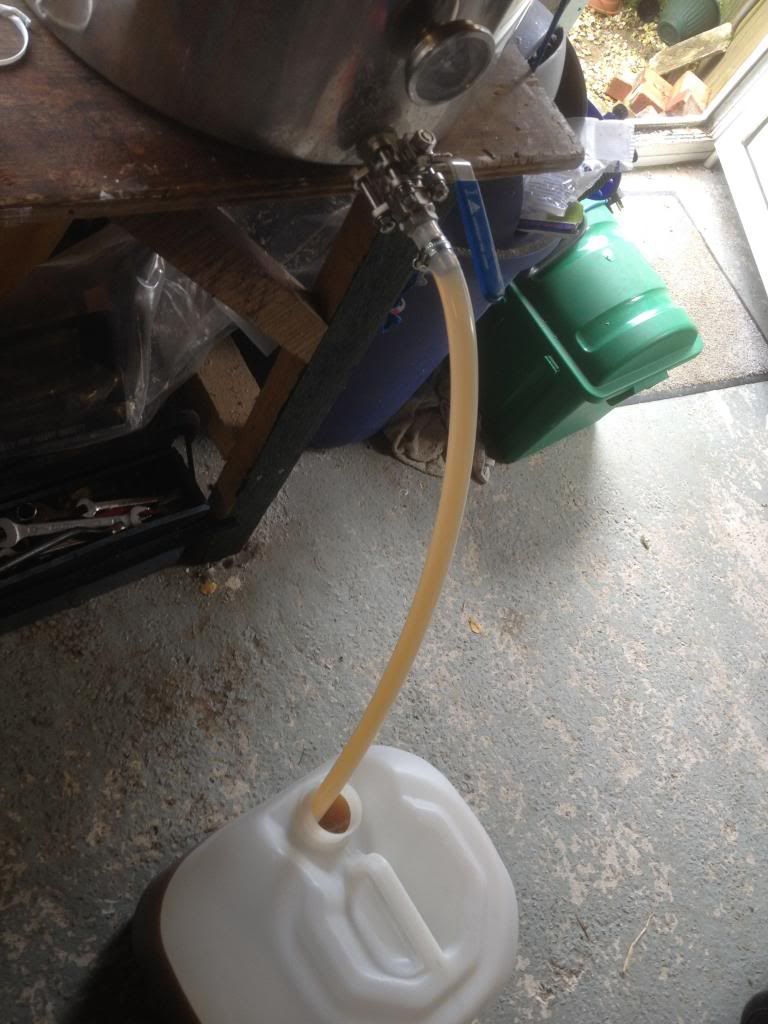
Ill be replacing that barbed tap fitting on the inside of the pot with a compression fitting and a length of copper pipe with holes drilled in it to act as a hop filter.

Any advice on improving/making this setup work will be much appreciated.

Cheers!

Balli.
Last edited by balli1990 on 06 Aug 2013, 03:59, edited 2 times in total.

Post #2 made 10 years ago
A properly fitted cake cooling rack should do the trick with ss bolts, washers and nuts.

My bag has a taper, so that is maybe why I don't have an issue with my thermo. probe.

Nice 3-piece ball valve. :salute:
    • SVA Brewer With Over 100 Brews From United States of America

Post #3 made 10 years ago
Something like this;
Rack with bolt legs.jpg
You do not have the required permissions to view the files attached to this post.
Last edited by Mad_Scientist on 06 Aug 2013, 05:14, edited 2 times in total.
    • SVA Brewer With Over 100 Brews From United States of America

Post #4 made 10 years ago
joshua wrote:MS, I have read on "other" forums, that people add Silicon tubing to the Bolts for Electrical Insulation from the Heater Elements.

I am Not sure if the elements CAN short out to the Kettle!

JMHO Again
Joshua

I thing that the silicone tubing is added to the bolts to stop the thread cutting into the element itself which would then lead to a failure. If the false bottom is left in situ during the boil I expect it would jump around a fair bit and could damage the element.
Last edited by Yeasty on 07 Aug 2013, 01:05, edited 2 times in total.
Why is everyone talking about "Cheese"
    • SVA Brewer With Over 50 Brews From Great Britain

Post #5 made 10 years ago
Thank you for the replies.

That false bottom looks great MS. Unfortunately there is a severe lack of stainless steel products in the UK.

After some research and discovering that there is no evidence to support the link between aluminium cookware and Alzheimer's, I'v ordered a Mesh Pizza pan. at 14" it wont be a snug fit but I think it will do the trick.

Also finding it difficult to source a 22mm female thread to 15mm compression fitting for my tap. Hmm.

Ill continue to update this thread with my progress

Cheers.

Post #6 made 10 years ago
balli1990 wrote: Also finding it difficult to source a 22mm female thread to 15mm compression fitting for my tap. Hmm.
What are you doing 'special' to the tap? Adding something to the inside or outside of it or both.. Are you adding a pickup tube?
Last edited by Mad_Scientist on 07 Aug 2013, 07:15, edited 2 times in total.
    • SVA Brewer With Over 100 Brews From United States of America

Post #7 made 10 years ago
I found the connector I needed for my tap :thumbs:

Nothing that special just a piece of copper pipe with some holes drilled in. Ill be then attaching the barbed connector that was on the inside to the outside of the tap if I need to attach a hose.

What sized holes do you guys normally drill in copper pipe to act as a hop filter?

here are some more pics -
Image


Image


Cheers :party:
Last edited by balli1990 on 07 Aug 2013, 22:24, edited 2 times in total.

Post #8 made 10 years ago
I would use the copper pipe as a pick-up tube, making sure some of it is touching the bottom of the pot. Cut it with a hacksaw blade making slots every centimeter, as in this picture below.

As long as your pot in high enough, when you are ready to drain, you can get a complete transfer of wort. What I do is put a length of silicone tube on the output of the boil kettle and submerse that in my no-chill cube. This way, it should siphon all your wort, because without the silicone tube, the siphon is broken somewhere along the way.

Picture of a manifold I made for a mash tun. Slots face down.
Image

12/11/2010 by Mad Scientist Brewhaus, on Flickr

In addition to the above, I would employ good hop management, such as a hop spider. See my photos of my hop bag, dated 5/5/2013. Note that I squeeze the bag pretty dry. My goal is to contain all the hop debris.
Last edited by Mad_Scientist on 08 Aug 2013, 03:49, edited 2 times in total.
    • SVA Brewer With Over 100 Brews From United States of America

Post #9 made 10 years ago
Sorry its been a while Iv not long been back from Vacation :cool:

MS what a great idea!!

Iv just finished putting together my pickup tube It works great, only leaves about 275ml behind :champ:

Image


All I need now is a false bottom and a bag and ill be good to go :)

Cheers!
Last edited by balli1990 on 22 Aug 2013, 19:38, edited 2 times in total.

Post #10 made 10 years ago
So after discovering that the pizza mesh pan I bought (for a false bottom) was way to small and light (would just jump about in the boil) I got a false bottom manufactured.
Image

Image


The problem is the longest ss bolts I could get are only just long enough to clear the elements. Im estimating that its around 4mm from the elements. is this far enough away? or is it just a matter of doing a test boil?

Cheers.
Last edited by balli1990 on 18 Sep 2013, 01:39, edited 2 times in total.

Post #12 made 10 years ago
Do you have much clearance around those bolts when fitted through the hole?

It's just that larger diameter bolts can give you more options for length.

Or

Could you get 2 bolts & thread them both into a nut half way to double the length?
Sometimes there isn't enough thread to grip & lock them, but maybe worth a try. :scratch:
G B
I spent lots of money on booze, birds and fast cars. The rest I squandered
I've stopped drinking, but only when I'm asleep
I ONCE gave up women and alcohol - it was the worst 20 minutes of my life
    • SVA Brewer With Over 100 Brews From Great Britain

Post #13 made 10 years ago
Gave it a test boil today all went well no leaks and the false bottom seems to be fine at the hight it is.

my water was at 15c (35 litres) it reached 71c in approximately 29 minuets and from there reached a rolling boil in 25 minuets Im pretty happy with that.

Little bit of a problem I ran into was water condensing on my ceiling :whistle: the extractor fan above my kitchen hob doesn't seem to be up to removing 6 litres of evaporated water.

Im hoping moving the kettle near an open window/door fix this :pray: I don't want to be condemned to the garden shed.

heres a cheeky pick of my setup hopefully Ill get a brew day going within a week.

Image
Last edited by balli1990 on 18 Sep 2013, 23:58, edited 2 times in total.

Post #14 made 10 years ago
That's a nice BEFORE shot, be very careful of a boil over, or you will be boiling outside forever. Look for a product called Fermcap-S and use about 2 drops per gallon just before the boil starts and any hops are added. Boil-overs can happen in an instant. Keep a spray bottle of water on hand too, to help tame it.
    • SVA Brewer With Over 100 Brews From United States of America

Post #15 made 10 years ago
Thanks for the heads up MS, I always have a spray bottle in hand just in case but I never even came close to a boil over with my mini biab setup and never had to use it.

Just thinking about all that room the false bottom pickup tube and elements are taking up in my boiler. With all this stuff my boiler is no longer 49 litres. Is there a way I can calculate (estimate) how much room this is taking up?

Cheers.

Post #16 made 10 years ago
balli, have been really enjoying reading your thread :salute:.

Here's a couple of thoughts...

Your false bottom will work well to keep your bag off the elements so that's great :party:. As for the rest of the stuff, it depends a lot on what type of hops you will be using and how you will manage them and the trub. For example, if you use your BIAB bag as a hop sock, regardless of the hop types you use, the only role your kettle pick-up tube needs to cary out is to 'vacuum' up the wort.

If you don't use a BIAB bag to manage your hops then you enter a world where answers must be much more tailor-made. One kettle system might work for flowers but not for pellets. Another might work for flowers that are whirlpooled but not for pellets that are whirlpooled. See what I mean?

A BIAB bag is the easiest and a magnificently effective method of trub management. I've tried everything else.

The only difficulty you will have with using a BIAB bag as a hop sock is finding a way to hang it in your kettle through the boil. I'm not sire what the answer is in our set-up or many others where there may be nowhere to hang a rope from.

Anyway, if you can work that out then your kettle pick up tube can go as low to the bottom of your kettle as you like and can only suck from a single point such as in the pic I posted here (turn your head to view that one ;)).

As for the amount of space all the stuff is taking up, it wouldn't even be worth worrying abut balli. If you did want to worry about it, the BIABacus can handle that adjustment but it probably wouldn't even be 100 mls and so the limitation would actually be your ability to measure to such precision. For example in a pot with 45 cm diameter, from memory, 0.6 cm equals one litre but can anyone measure a liquid using a ruler in a kettle, to within even 0.2 cm? I doubt it!

See what I mean?

So, I think you are good to go :thumbs:.
PP
Last edited by PistolPatch on 21 Sep 2013, 21:22, edited 2 times in total.
If you have found the above or anything else of value on BIABrewer.info, consider supporting us by getting some BIPs!
    • SVA Brewer With Over 100 Brews From Australia

Post #18 made 10 years ago
Thanks for the replies!

Decided that the shed would be a better place for brewing due to evaporation (dont want to ruin the house). Iv also rigged a washing line pulley up on the roof of my shed so it will be easier to pull the grain bag and i have something to hang a hop sock from :thumbs:

Stevem01. What is the disadvantages of having the elements on the same feed? Could I damage them or is it just that they wont be able to draw enough power to get as hot as they were designed to? Iv had them running fine together without them tripping the power.

Cheers

Balli.

Post #19 made 10 years ago
1st Brew day was today :champ:

Went pretty well forgot to take some measurements but I was pretty close to the EOBV.

The voile I had for my hop sock was too fine to sew (didn't have fine enough needle) so I ended up just bunching up the material and hanging it. I lost some hop pellet debris but not enough to be worried about. Next time I think ill just use my BIAB bag.

Cube Hoped my 0 min addition. Used a little hop sock my mum made for me from voile. Boiled it first to sterilise it (empty of course) and drained my kettle on top of the sock. Ill take a gravity reading tomorrow before pitching.

Check out the pics.

Image


Image

Pulling the Grain
Image

First Wort Hop
Image


Image

Squeezed as much air out as I could left it on its side for a while to pasteurise the dead space.
Last edited by balli1990 on 02 Oct 2013, 23:25, edited 2 times in total.

Post #20 made 10 years ago
balli1990,

You don't have to squeeze all the air out. In all actuality we probably don't have to squeeze out any? No one really tested it. It just "seemed" right? My no-chill containers collapse-in quite a bit. I have not had a problem yet but it always bothered me. As the wort cools the air space collapses inwards. It probably would work to show if you have a infection? A infection will make the no-chill bulge outwards. Good luck and keep us up to date!
tap 1 Raspberry wine
tap 2 Bourbon Barrel Porter
tap 3 Czech Pilsner
tap 4 Triple IPA 11% ABV

Pipeline: Mulled Cider 10% ABV

http://cheesestradamus.com/ Brewers challenge!
    • SVA Brewer With Over 100 Brews From United States of America

Post #22 made 10 years ago
Yeast has been pitched.

I lost a load of wort to the cube. There was allot of trub in there. ended up with just under 22 litres into the FV.

remembered I didn't aerate the wort about 15 mins after pitching so I gave it a good shake then, hope it will be alright.

My gravity was high, aiming for 1.046 ended up with 1.052. I measured it 3 times just to be sure. :scratch: Why is my gravity so high?
I suppose I could have added a little water to bring the gravity down and the vol up to 23 litres in the FV?

Iv attached my BIABacus if that helps.

Im also thinking of doing a crash chill for this batch. So im thinking once fermentation is over I just put the FV in the fridge 5C for 3 days before bottling? will this make a big difference on clarity?

Cheers!!
You do not have the required permissions to view the files attached to this post.

Post #23 made 10 years ago
This will be an Aussie centric reply. usually a heating element will be 2400 Watts, this calculates out to 10 Amps. a standard power circuit is 10 Amp. so if you have 2 2400 Watt elements on a 10 Amp Circuit it is double the rating and should trip out the circuit breaker. If the breaker doesn't trip the circuit is still overloaded and will overheat and may catch fire.

If they are 1200 Watt elements then no problems

Post #24 made 10 years ago
Hmm... thats worrying. Ill have to look at getting them on different feeds next time. Cheers Stevem you may just have saved my house from burning down sometime in the future. :salute:

To answer my own question about the aeration. US-05 manual suggests that you pitch the rehydrated yeast and aerate the wort 30 mins later. So all good and its bubbling away nicely. Iv got loads of headroom so I think the blow off tube was unnecessary. Had very little headroom with my 1 gallon demijohns and an airlock would always blow.

Cheers!

Balli.

Post #25 made 10 years ago
Hi just gunna repost a question that I think got lost higher up about my OG. :think:

Came out High at 1.052 was aiming for 1.046.
Apart from my evaporation rate being a little high (not enough to adjust the gravity that much I wouldn't have thought?) can anyone explain why? BIABacus is attached

Cheers

Balli
You do not have the required permissions to view the files attached to this post.
Post Reply

Return to “Electric BIAB”

Brewers Online

Brewers browsing this forum: No members and 23 guests