[center]BIABrewer Note: All brewers, new and experienced, are encouraged to start new topics in this section provided they have read the below.[/center]
[center]A Guide to Mini BIAB
by Ralph deVoil (Ralph)[/center]
This guide describes the making of All- Grain beer with the most basic, domestic kitchen equipment with no complicated processes whatsoever. This is the simplest BIAB anyone could possibly undertake, but it nevertheless has the potential to produce some of the finest beer.
Experienced all-grain brewers should also consider using this method to brew small batches of experimental beers.
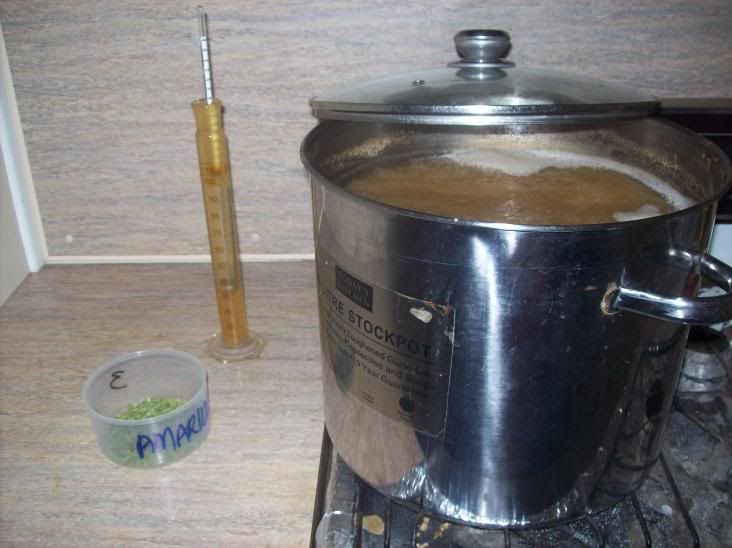
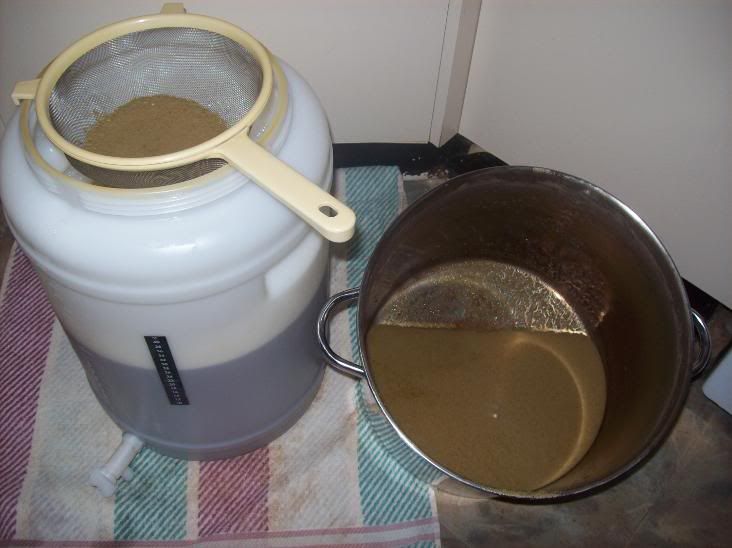
In this guide, we will use a 19 litre pot to brew 9.5 lts of American Pale Ale - NRB's All Amarillo APA.
The following guide is laid out in a similiar manner to BIAB - The Master Guide. Readers seeking further information on any area should be familiar with The Master Guide and refer to it where further clarification is required.
This guide is made up of the following posts...
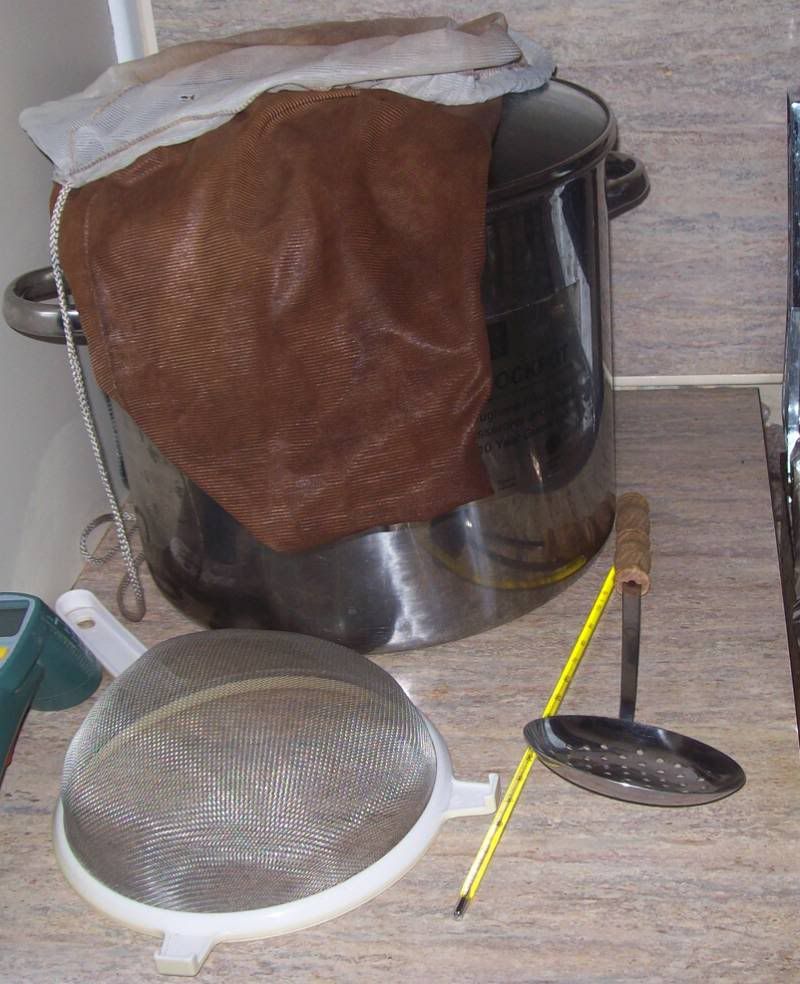
Mini-BIAB Equipment
Scaling Recipes to Mini-BIAB Size
Prior
Start
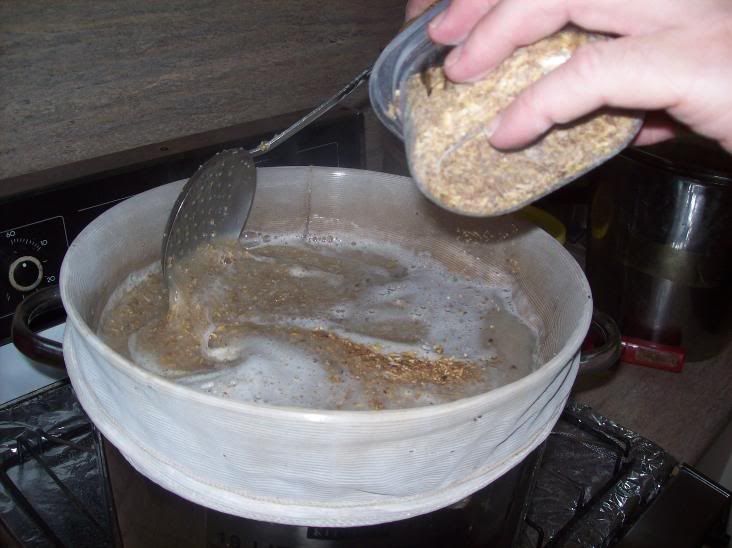
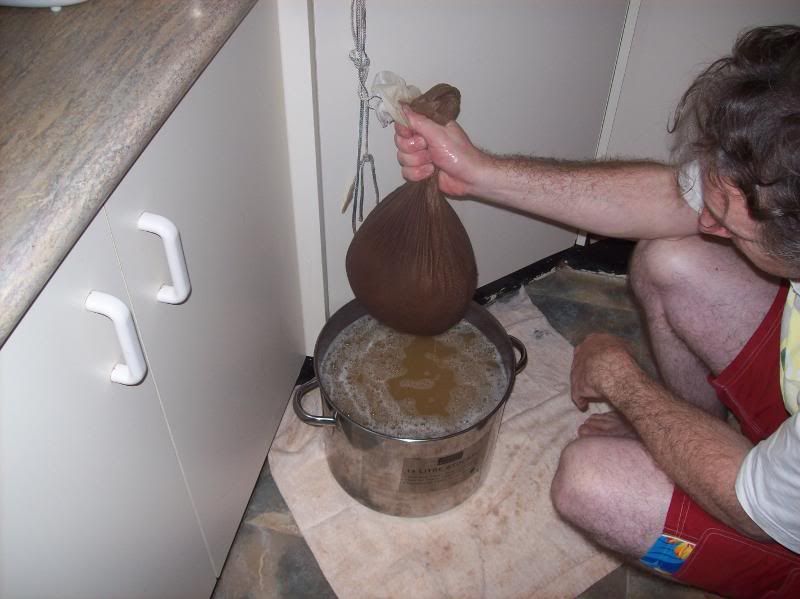
Mash
Boil
Chill
Pitch
Please feel free to ask any questions in this section.
Happy brewing,
Ralph
All brewers, new and experienced, are encouraged to start new topics in this section provided they have read the steps below.
 A Guide to Mini-BIAB
Post #1 made 14 years ago
Last edited by Ralph on 03 Apr 2010, 13:29, edited 11 times in total.


